How To Make Patches: From Materials To Finished Designs?
Making patches at home is a real weekend project for most methods and a specialist job for two of them. In this guide, we walk through how to make patches in ten ways, from hand embroidery to fabric paint to woven construction, then explain the border, backing, and finishing steps that turn a stitched piece of fabric into a patch you can actually wear.
Key Takeaways
- Choose the method by the equipment you already have, then by the design; hand embroidery, machine embroidery, sewing-machine zigzag, and felt all work with common tools.
- Woven and molded PVC are order-not-make because they need industrial looms or molds, so we cover the design side of both and leave the production to a factory.
- The border and stabilizer decide durability, not the design; a dense border locks the weave, and the right stabilizer stops puckering and fraying.
- We supply high-quality custom patches in every method covered here, at competitive prices with generous bulk discounts for teams, brands, schools, and events.
Table of contents
How To Make Patches?
To make a patch, follow six universal steps that carry across every method below. The specifics change, but the process does not.
- Choose the method based on your tools and the design. Embroidery for texture, printing for photos, felt for beginners, woven for fine text (order, not make).
- Design the patch to size on paper first. A 3-inch square is a common test size. Trace or transfer the outline onto the base fabric.
- Prepare the fabric with a stabilizer if the method needs it. Cut-away for stretchy fabrics, tear-away for stable twill, water-soluble when nothing may remain.
- Build the design with stitching, paint, print, or fusible material, working from the center outward so tension stays even.
- Add a dense border around the perimeter that seals the raw edge and locks the weave underneath.
- Trim, back, and finish the patch with iron-on adhesive, sew-on left plain, or hook-and-loop for interchangeable use.
The two methods that don't fit this list are true woven construction and molded PVC. Both need factory equipment. Work with us to create custom woven patches or custom PVC patches at scale, with the design work done at home if you prefer.
Ten methods at a glance, ranked by ease and honest limits. Table cells are ordered by beginner to advanced.
| Method | Skill level | Tools needed | Time for one 3" patch | Survives washing? |
|---|---|---|---|---|
| Felt | Beginner | Scissors, fabric glue | 30-45 minutes | Yes, cool wash |
| Fabric paint | Beginner | Brush, paint, iron | 1-2 hours plus dry | Yes, if heat-set |
| Hand embroidery | Beginner+ | Hoop, floss, needle | 2-4 hours | Yes, gentle |
| Iron-on transfer | Beginner | Printer, paper, iron | 30 minutes | 20-30 washes |
| Appliqué | Intermediate | Sewing machine, webbing | 1-2 hours | Yes |
| Sewing-machine zigzag | Intermediate | Sewing machine | 1-2 hours | Yes |
| Machine embroidery | Advanced | Embroidery machine | 30-90 minutes | Yes, best |
| 3D puff | Advanced | Embroidery machine, foam | 1-2 hours | Yes |
| Chenille | Order or advanced | Specialty machine | Factory | Yes |
| Woven / molded PVC | Order only | Industrial loom or mold | Factory | Yes, longest |
What Materials And Tools Do You Need To Make Patches?
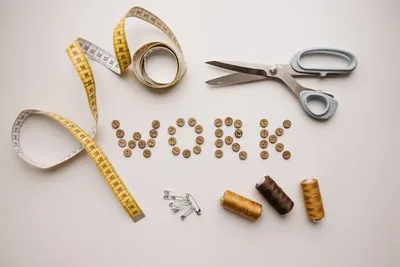
You need a base fabric, a stabilizer, thread or paint or print, a border, and a backing. Everything else is method-specific.
- Base fabric: twill, felt, or heavy cotton, cut about half an inch larger than the finished patch.
- Stabilizer: cut-away, tear-away, or water-soluble.
- Thread or embroidery floss, or fabric paint, or printer transfer paper.
- Scissors, needle, embroidery hoop, iron.
- Fusible webbing (Heat n Bond, Wonder Under) or a sew-on backing.
Method-specific extras: a sewing machine with a zigzag stitch, an embroidery machine, an inkjet printer, or a heat press. Buy tools once the method is chosen, not before.
What Fabric Is Best For Making Patches?
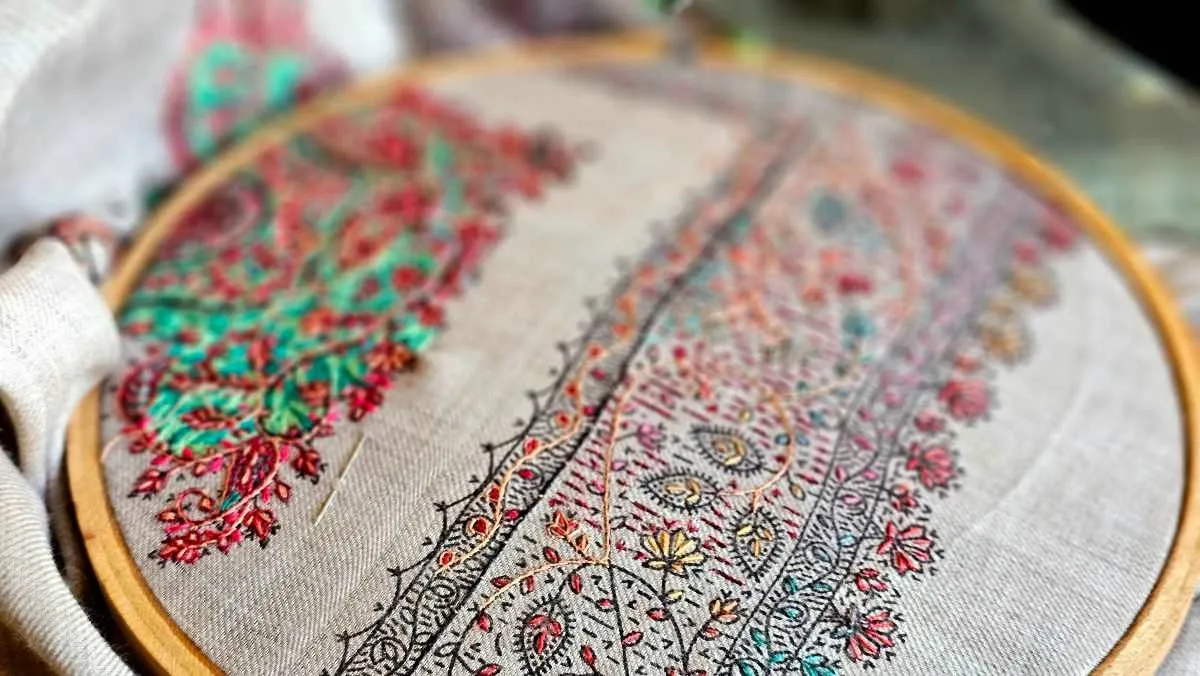
Twill is the best all-round patch fabric. It is stable, resists fraying, holds a dense stitch without puckering, and takes a heat-set backing well. Most commercial patches use polyester or cotton twill for the same reasons. Felt is second for beginners because it does not fray, though it lacks the crisp edge that twill gives.
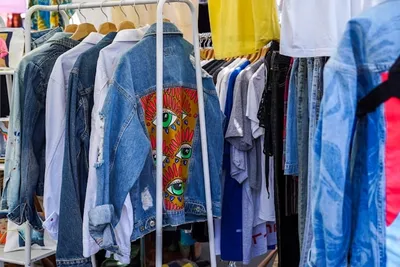
Denim, canvas, and heavy cotton also work. Denim gives a rugged look for jean patches, and it pairs well with our custom patches for jeans as a source of matching material. Canvas suits large designs. Plain cotton needs a fusible interfacing to stop raveling; New Mexico State University Extension recommends fusible interfacing to stabilize each appliqué piece and prevent edges from raveling. Skip stretchy knits and delicate fabrics.
We've seen new makers pick fabric by looking alone and land on linen or a thin cotton, then puzzle over why the border puckers or the fabric ravels. Pick fabric by stability first, then by look. Twill and felt cover most designs; specialty fabrics only when the design requires it.
Want a woven or embroidered patch you can order rather than make?
Work with us to create custom embroidered patches, from a single design to a full team run, in any shape, size, and border style you need.
How Do You Design A Patch Before Making It?
Draw the patch at actual size on paper first, then trace it onto the base fabric. Working at real size shows you what will read from arm's length and what will vanish. Simplify complicated details before transferring: a photo simplifies to three or four color blocks, a logo simplifies to solid shapes with defined outlines.
Set the border thickness in the design. A stitched border is usually 3 to 5 millimeters wide, which sets the minimum inside detail. Anything thinner than 2 millimeters won't embroider cleanly and belongs on a woven patch instead.
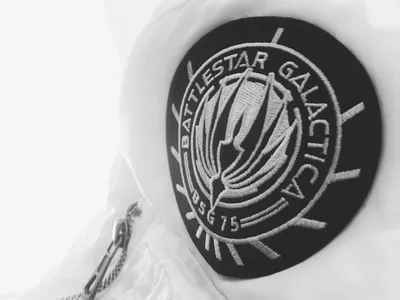
Only reproduce artwork you own or have permission to use. The USPTO trademark basics page covers what a trademark protects and why. We don't reproduce trademarked logos or official insignia in our production, and neither should a home maker who plans to gift or sell the work. Original designs and public-domain artwork are fine; a licensed logo you find online is not.
What Are Some Easy Patch Designs For Beginners?
Start with simple shapes and one or two colors. A single initial, a solid heart, a small animal silhouette, or a two-letter monogram are all first-project designs that finish in an evening. The point is to complete a full patch and learn the border, not to produce a masterpiece.
Skip fine text and dense fills on the first try. Both need practice with stitch density and tension. Bold outlines with an open background are more forgiving.
Need a woven patch with fine text and thin lines?
We produce custom woven patches from your artwork, with detail down to 2 mm lettering that home embroidery can't hit.
Learn moreHow Do You Make Patches By Hand?
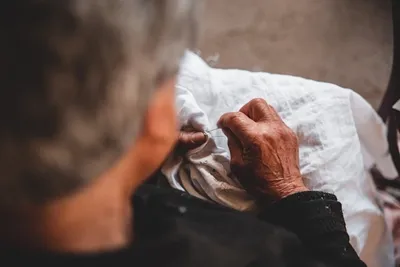
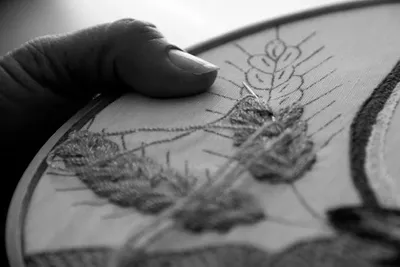
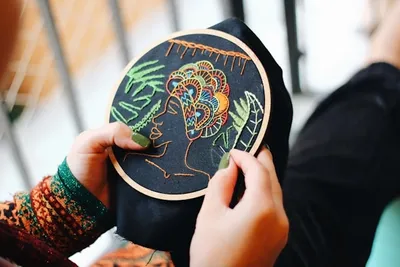
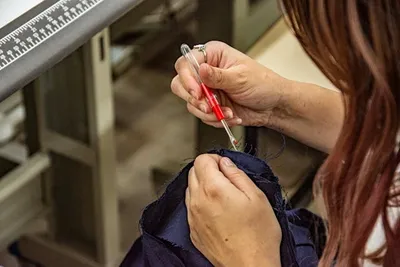
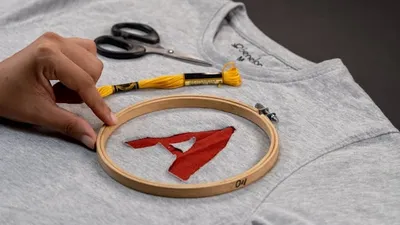
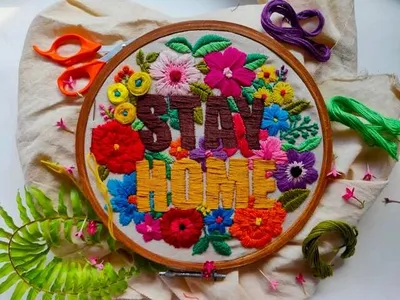
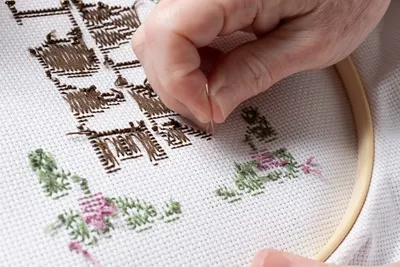
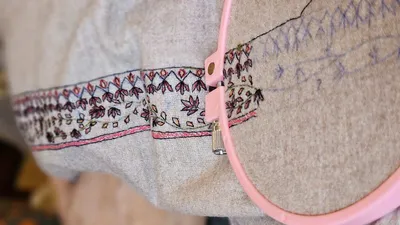
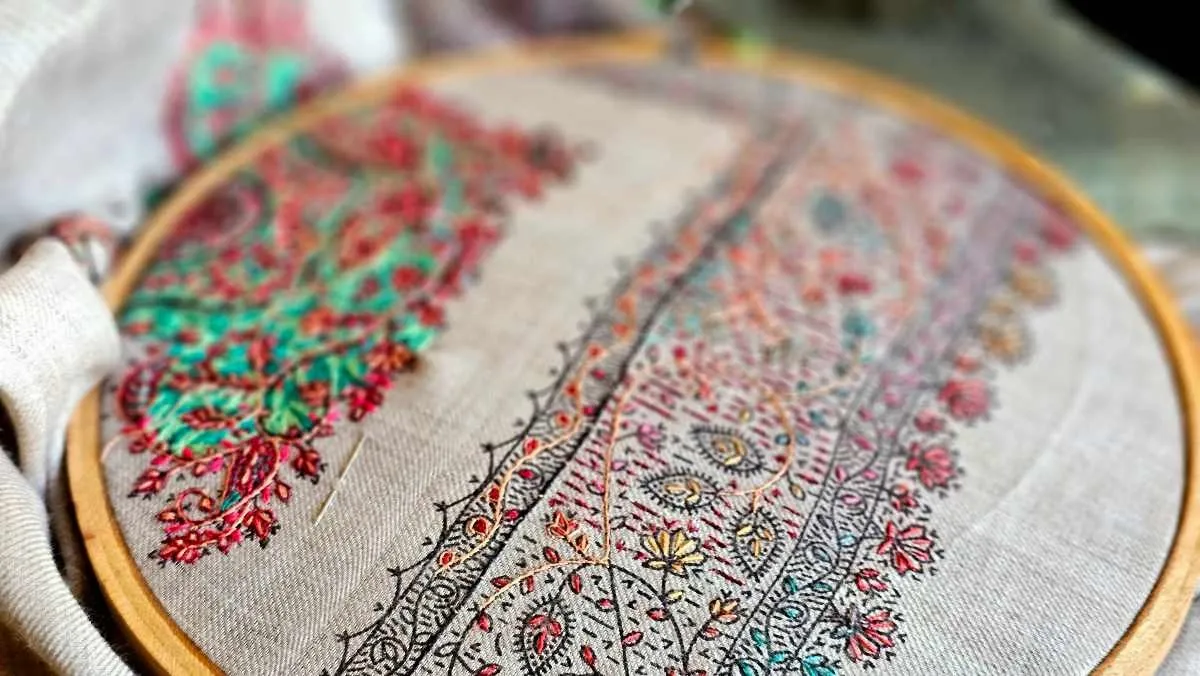
Hand-made patches use fabric, a hoop, needle, and embroidery floss. Hoop the base fabric with a stabilizer behind, transfer the design with tailor's chalk or a water-soluble pen, and outline every shape before filling. Beginner stitches to know: backstitch for outlines, satin stitch for filled shapes, and blanket stitch for the outer border.
Hand-made patches use fabric, a hoop, needle, and embroidery floss. Hoop the base fabric with a stabilizer behind, transfer the design with tailor's chalk or a water-soluble pen, and outline every shape before filling. Beginner stitches to know: backstitch for outlines, satin stitch for filled shapes, and blanket stitch for the outer border. Traditional craft approaches including hand embroidery, patchwork, quilting, and hand block-printing have also been used to transform and embellish existing garments in textile design research.
Hold even tension throughout the piece. Stitches pulled too tight distort the fabric and cause puckering. From experience, the border section is where most first patches fail; run a test row on scrap before starting the real border. For a step-by-step hand method, see our make embroidered patches by hand guide.
How Can You Turn Hand Embroidery Into A Finished Patch?
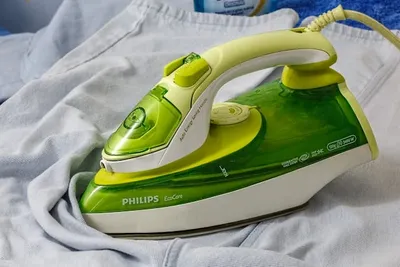
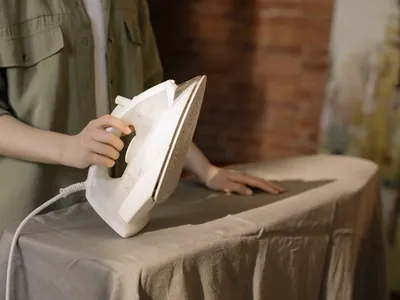
Reinforce the design before removing it from the hoop. Run a tight zigzag or a dense blanket stitch around the outer edge, then cut close to the stitching without nicking the thread. Apply a paper-backed fusible webbing to the back with a hot, steam-free iron; Washington State University Extension notes the iron should be pressed and lifted, never slid, with firm pressure.
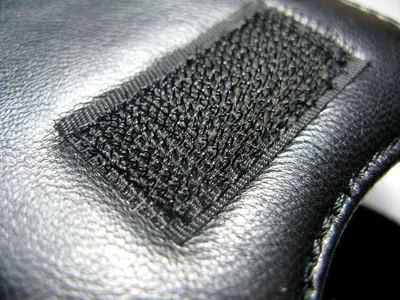
Choose the backing based on how the patch will attach: fusible webbing for iron-on, plain felt for sew-on, or hook tape for interchangeable use.
| Backing | Best for | Main limitation |
|---|---|---|
| Sew-on | Denim, canvas, bags, and frequently washed garments | Takes longer to attach |
| Iron-on | Heat-tolerant cotton and polyester | May damage coated, delicate, or heat-sensitive fabrics |
| Hook-and-loop | Uniforms, bags, and interchangeable patches | Requires a loop panel |
| Peel-and-stick | Temporary placement and events | Usually unsuitable for washing |
| Pin or badge fitting | Temporary, removable use | May leave holes or allow the patch to rotate |
How Do You Make Patches With A Sewing Machine?
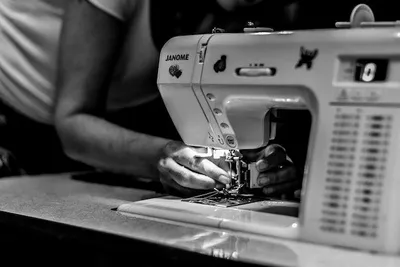
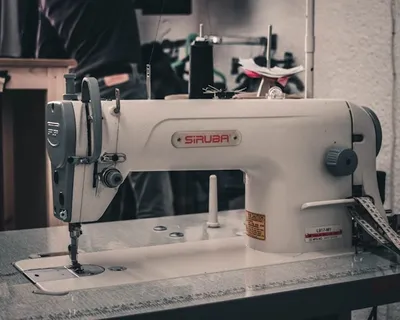
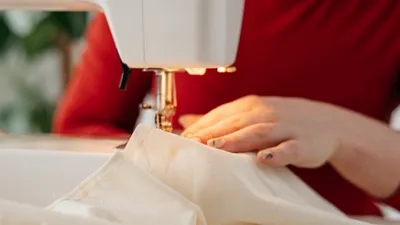
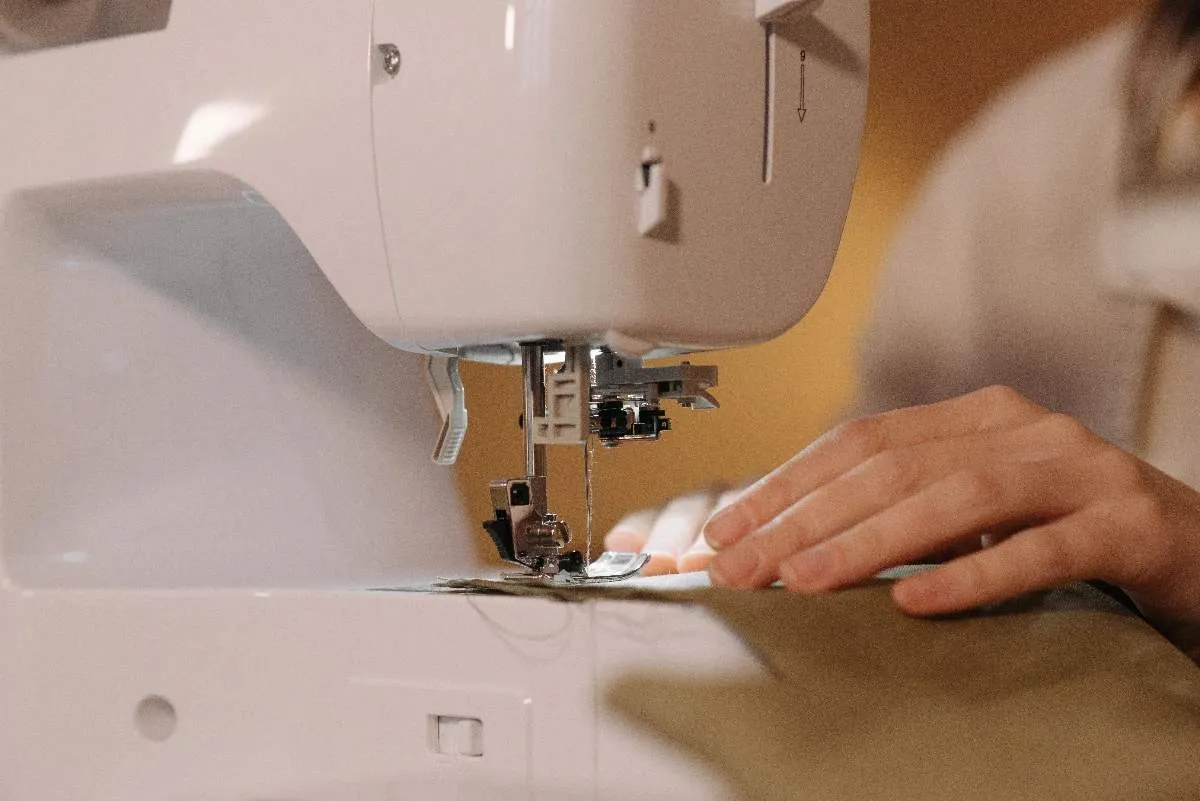
An ordinary sewing machine can produce a patch using zigzag, satin, and free-motion stitching. Set the zigzag to a short stitch length and a width that covers the design outline. Hoop the fabric with a tear-away stabilizer, drop the presser foot, and stitch the design at low speed. Test the stitch on scrap fabric first to check tension and coverage.
We've found the sewing-machine method works best for patches under 4 inches with bold shapes. Fine detail needs a real embroidery machine or a woven patch. In the orders we run for teams that started as home sewing projects, the border is almost always the thing that gets upgraded first.
How Do You Make Zigzag-Stitch And Free-Motion Patches?
Zigzag width and stitch length build the border. A short stitch length (1 to 1.5 mm) with a width of about 3 mm produces a dense satin-like edge that seals the raw fabric. Increase the width for larger patches; keep the length short so the coverage stays complete.
Free-motion stitching drops the feed dogs and lets you move the fabric by hand. Practice controlled loops and curves on scrap before the real patch, since the machine no longer feeds for you.
Skipping embroidery entirely for a full-color design?
Our custom printed patches carry photos and gradients that no stitching method can match, in any size and shape you need.
How Do You Make Embroidered Patches?
Machine-embroidered patches follow a five-step build. Hoop the base fabric with a cut-away stabilizer, transfer the design, stitch the graphic with rayon or polyester embroidery thread, add a dense perimeter border, then trim and back the patch. Utah State University Extension covers the fusible-web sequence used for the backing step and warns that over-fusing can stop adhesion.
A dense border is the difference between a patch and a piece of stitched fabric. In the patches customers show us, the borders that fail are the sparse zigzags stitched at long length. Keep the stitch length short and the coverage complete. We've found that a thread count of roughly 5 stitches per millimeter locks the border reliably; sparser than that lets the base fabric fray from under the stitches.
For a machine-based workflow, see our patches with an embroidery machine guide, which walks through hooping tension and stabilizer choices at a hobby-shop level of detail.
What Are The Different Types Of Patch Embroidery?
Six types cover most of what people mean by "embroidered patch."
- Flat embroidery: standard stitching, most durable.
- 3D puff: foam under the top thread, gives a raised block letter look.
- Appliqué: fabric layered under embroidery, saves thread on large fills.
- Chenille: yarn loops, retro varsity feel, bold letters only.
- Free-motion: hand-guided sewing machine, painterly effect.
- Hand embroidery: single-piece, one-off work.
Match the method to the design. Small letters go flat. Large block letters go 3D puff. Retro school lettering goes chenille. Photorealistic imagery goes to printed or sublimated construction, not any embroidery method.
Looking for chenille letters or a retro varsity feel?
Get started with custom chenille patches for jackets, hats, and letterman runs, in the exact colors and letter shapes your team needs.
Get startedHow Do You Make Woven Patches?
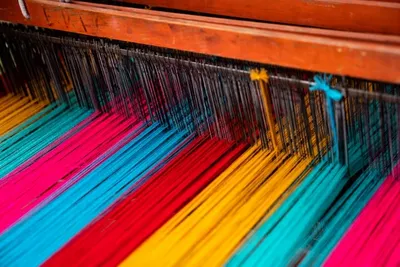
True woven patches come off an industrial loom and are not a home project. Threads are interlaced on the loom to build the design at the same time as the fabric itself, which is why woven construction holds text down to 2 millimeters and thin lines that embroidery blurs. The design work (artwork, thread colors, size) can be finalized at home; the weaving needs the factory.
Order-not-make is honest here. We would rather send a customer a real woven patch than teach a workaround that produces an embroidered lookalike with sparser detail. Work with us to bring your design to life as a proper woven patch.
| Problem | Likely cause | Fix |
|---|---|---|
| Fabric puckers | High tension or weak stabilizer | Reduce tension and use firmer stabilizer |
| Border exposes fabric | Narrow or misaligned border | Widen and realign the border |
| Thread keeps breaking | Damaged needle, high speed, or poor threading | Replace the needle, rethread, and slow down |
| Edge frays | Sparse stitching or overly close trimming | Increase border coverage and leave a narrow margin |
| Iron-on backing lifts | Insufficient heat, pressure, or fabric incompatibility | Follow the adhesive instructions or sew it on |
| Small letters close up | Text is too small or stitching is too dense | Enlarge or simplify the text, or use woven/printed construction |
| Patch feels stiff | Dense fills or heavy backing | Reduce fill density or use appliqué |
What Makes Woven Patches Different From Embroidered Patches?
Woven patches are flatter and finer than embroidered patches. Embroidery stitches sit on top of a base fabric, giving texture and thickness. Weaving interlaces the threads into the fabric itself, so the surface is smooth and the detail is much sharper. Small lettering and thin lines that embroidery can't cleanly hit are the classic woven use case: hang tags, uniform name tapes, and label-style patches.
For a longer read on how the two methods pair with attachment options, see our heat transfer vs embroidery guide.
How Can You Make Patches Without Embroidery?
Four methods produce a patch without a single stitch of embroidery: fabric paint, printing, felt, and appliqué. Each has trade-offs. Paint works on a stiff fabric and needs heat-setting. Printing needs a printer and transfer paper. Felt cuts cleanly and needs no border. Appliqué layers fabric shapes onto a base, held with fusible webbing.
Durability rank from most to least in the no-embroidery methods: appliqué (with a stitched border), felt (with a whip-stitch edge), painted (heat-set and finished with fabric medium), printed (heat-set and edge-sealed). A stitched border extends any of them.
How Do You Make Fabric-Paint And Felt Patches?
For paint, prime the fabric with a light coat and let it dry before the main design. Use flexible fabric paint or acrylic mixed with a fabric medium, and heat-set the finished patch under a pressing cloth per the paint manufacturer's instructions.
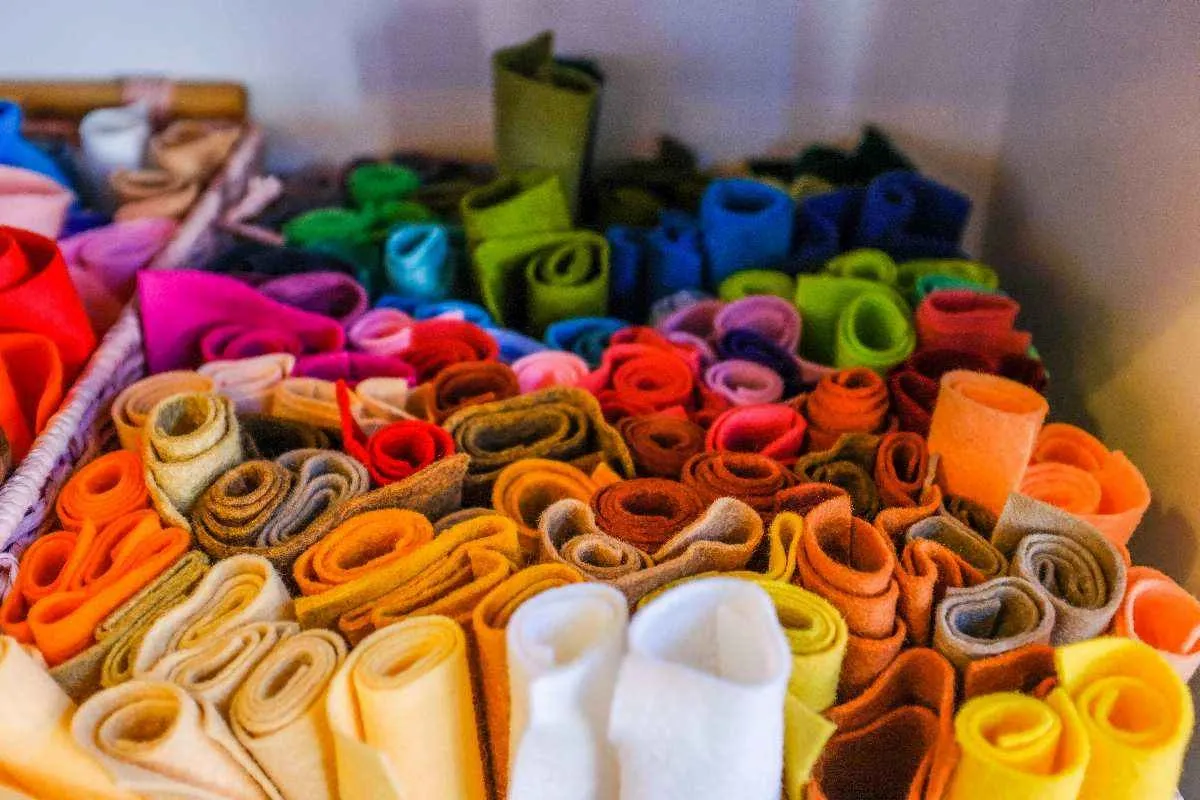
For felt, cut the design from felt directly: no border needed. Layer felt shapes with fabric adhesive or a running stitch to build up detail. Felt does not fray, which is why it is the beginner's favorite. In the patches we see photographed by new makers, felt is the method that finishes cleanest without any specialty gear.
An honest note on printed patches for wear. Printed and iron-on transfer designs are the fastest home route to a finished patch, and they are also the first to crack or peel with repeat washing. A stitched border added around a printed patch buys years of life; without it, expect 20 to 30 wash cycles before the print shows visible cracking at flex points. If the design has to last, either sew a border around the printed piece or order a proper printed patch built for garment wear.
Frequently Asked Questions About How To Make Patches
How Do You Make Patches?
Follow six universal steps: choose a method, transfer the design, stabilize the fabric, build the design, add a dense border, then trim and back. Each method (embroidery, paint, print, felt) changes the middle steps only.
What Fabric Works Best For Making Patches?
Twill is the best all-round patch fabric, followed by felt for beginners. Both hold a dense border without puckering. Skip stretchy knits and thin cottons; if you must use cotton, back it with a fusible interfacing first.