How To Make Patches Without An Embroidery Machine: From Handmade To Chenille Patches
You do not need a thousand-dollar embroidery machine to make a patch worth wearing. A needle, some scraps, and the right sequence get you surprisingly far. This guide covers how to make patches without embroidery machine access, by hand, on a regular sewing machine, and with no-sew methods that skip thread entirely.

Key Takeaways
- Five machine-free routes work: hand embroidery, regular sewing machine stitching, hand-tufted chenille, fabric paint, and iron-on transfers, each trades time against polish differently.
- Stabilizer is the non-negotiable supply. A stiffened base is what separates a patch that flies flat from one that curls, whichever method you pick.
- Finish the edge or lose the patch. Fraying, not weak artwork, is what kills most homemade patches. Seal or stitch every cut edge.
- We supply high-quality custom patches that you can personalize with any design, style, or backing when you want a professional version of your DIY idea at a price that works for you.
Table of contents
-
How To Make Patches Without Embroidery Machine?
-
What Supplies Do You Need To Make DIY Patches?
-
How To Make Chenille Patches Without Embroidery Machine?
-
Can You Make Patches With A Normal Sewing Machine?
-
How Can You Make Custom Patches Without Sewing?
-
How Do You Finish And Reinforce DIY Patches?
-
How Do You Prevent Fraying And Make DIY Patches More Durable?
-
How Should You Wash And Maintain Homemade Patches?
How To Make Patches Without Embroidery Machine?
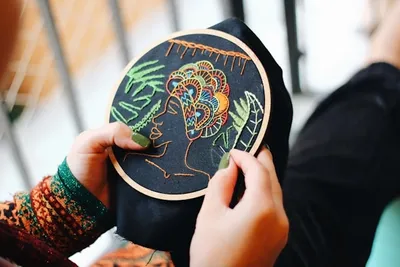
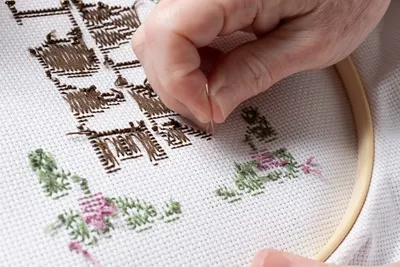
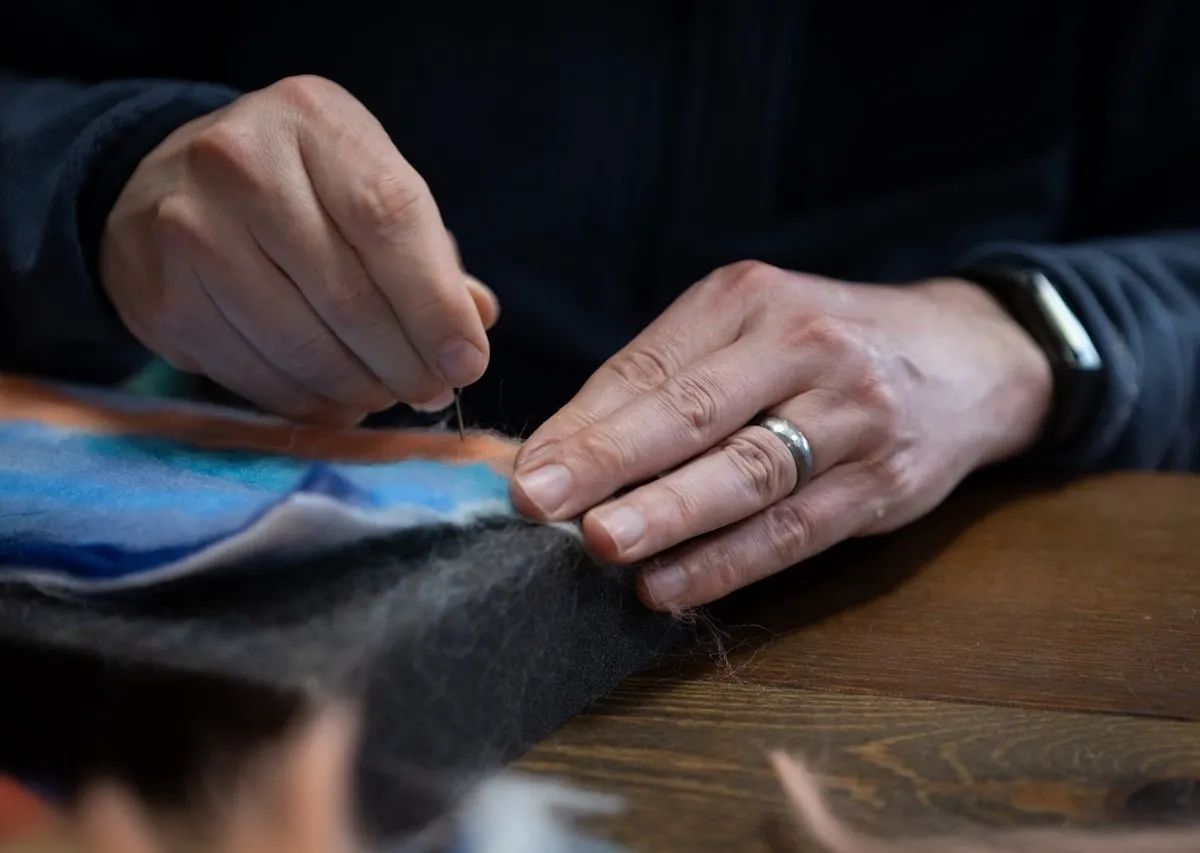
Making a patch without an embroidery machine means building the design by hand or with basic tools on a stabilized fabric base, then finishing the edge and adding a backing. Hand stitching, a regular sewing machine, adhesives, fabric paint, and transfer paper all get you there.
The workflow is the same whichever method you choose:
- Draw the design at actual size - original artwork only, since logos and brand marks are protected as trademarks
- Cut base fabric and stabilizer slightly oversized
- Apply the design using your chosen method
- Seal or stitch the edges
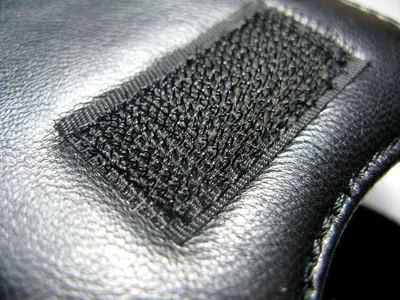
- Trim and add a backing - sew-on, iron-on adhesive, or hook-and-loop
Set expectations by method: hand embroidery takes an evening per patch, a sewing machine cuts that to under an hour, and no-sew methods finish in minutes but trade away wash durability. We've found that picking the method by how the patch will be used, not by what looks easiest, is the decision that matters.
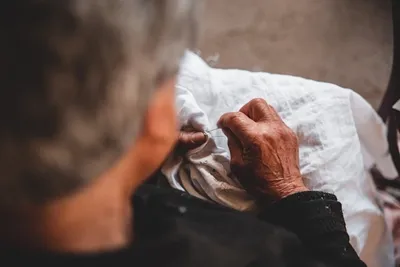
Hand needlework has carried designs like this for centuries - the Smithsonian's National Quilt Collection documents hand-stitched applique from the 1700s onward. Beginners can start with the felt-and-floss version in our how to make embroidered patches by hand guide.
What Supplies Do You Need To Make DIY Patches?
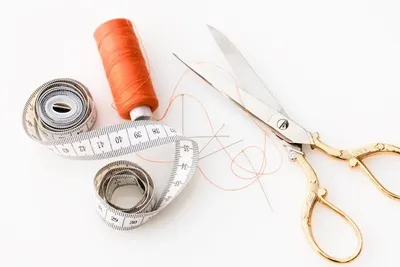
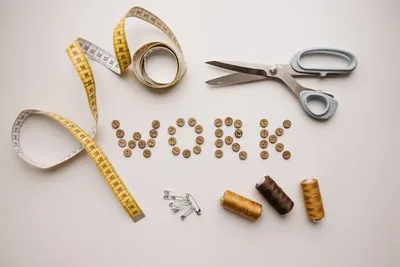
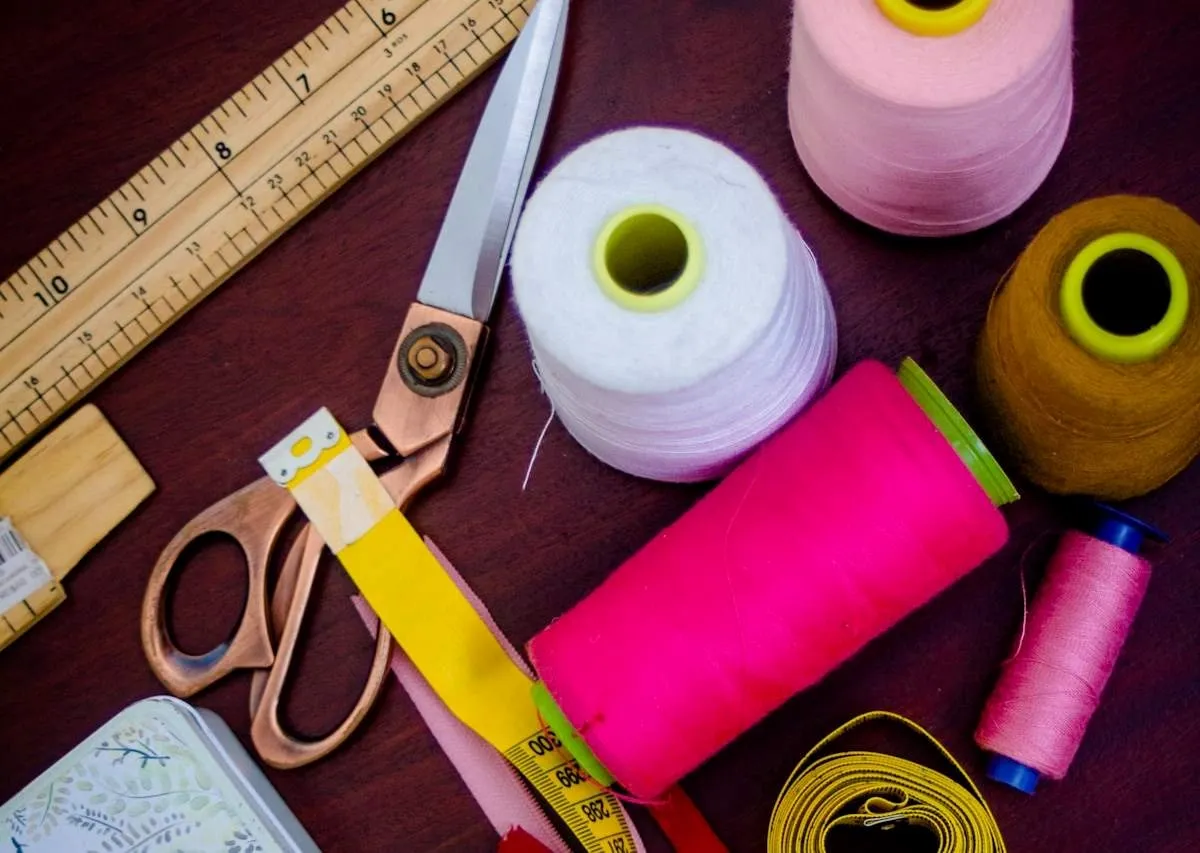
Your essential kit costs less than a takeout dinner: base fabric, stabilizer, embroidery floss or thread, a hoop, sharp scissors, and a marking pen. That covers hand and machine methods both.
Optional but worth having:
- Fusible web for no-sew bonding
- Fabric glue or seam sealant for edges
- Transfer paper for printed designs
- A thimble - hand-tufting will make you want one by patch three
Beginner kits bundle most of this cheaply, and the quality is fine for learning. Upgrade the scissors first when you outgrow the kit; clean cutting improves every later step more than any other tool swap.
Which Fabrics And Stabilizers Work Best For Homemade Patches?
Felt is the beginner's friend - it does not fray, forgives uneven stitches, and cuts cleanly. Twill gives the classic patch look; denim and canvas suit rugged projects.
| Fabric | Frays? | Best For |
|---|---|---|
| Felt | No | First patches, kids' crafts |
| Twill | Yes | Classic jacket-patch look |
| Canvas | Yes, heavily | Bags, workwear |
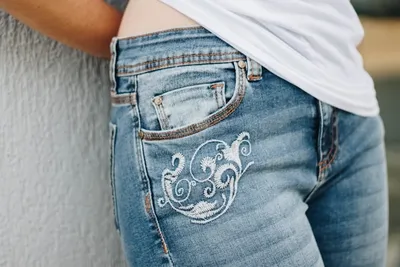
| Denim | Yes | Upcycled jean patches |
| Quilting cotton | Yes | Detailed painted designs |
Under the fabric, use fusible stabilizer for a stiff, professional body or tear-away if you want the patch softer. Two layers of felt glued back to back also work as a budget stabilizer. Pick the fraying column first - it decides how much edge-finishing work you sign up for.
Want your DIY design made professionally instead?
Work with us to turn your sketch into custom embroidered patches with clean borders, your colors, and the backing you choose at competitive prices.
How To Make Chenille Patches Without Embroidery Machine?
Chenille patches - the fuzzy varsity-letter style - are usually tufted by specialty machines, but you can build the look by hand with yarn and patience. The DIY version has a charm of its own: slightly irregular loops that read as handmade in a good way.
Here is the hand method we've seen work best:
- Cut a felt base in your letter or shape
- Draw fill lines about 1/4 inch apart across the shape
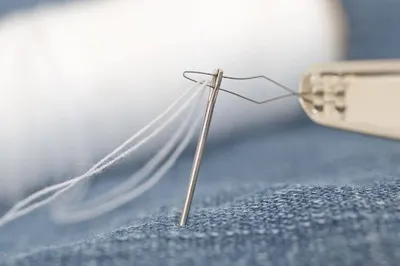
- Chain-stitch thick yarn along each line with a large-eye needle, keeping loops loose
- Pack the rows close so no felt shows through
- Snip the loops for classic cut-pile fuzz, or leave them for a looped texture
The look became popular on letterman jackets, and the demand is still visible - chenille letters are showing up on caps and sweatshirts right now. Our guide to how chenille patches are made shows the machine version for comparison.
How Can You Create Chenille And 3d Patch Effects Without Machines?
Texture comes from stacking, not stitching harder. Three approaches build dimension by hand:
- Yarn layering: rows of chain-stitched or couched yarn, packed tight - the closest to true chenille
- Fabric layering: stack two or three felt shapes, each slightly smaller, for a stepped 3D effect
- Raised stitching: padded satin stitch, where you stitch over a felt insert to lift the surface
Mixing them works well - a layered felt base with a yarn-filled center reads as premium. Keep raised areas away from the outer 1/4 inch of the patch so the edge can still be finished flat. If the hand-tufted route sounds better in theory than in your schedule, work with us on custom chenille patches - we produce the dense, even pile that hand methods approximate.
Love the fuzzy look but short on time?
Our custom chenille patches deliver that raised varsity texture in any shape, letter, or mascot without the hours of hand-tufting yarn.
Learn moreCan You Make Patches With A Normal Sewing Machine?
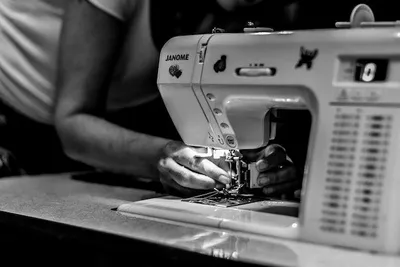
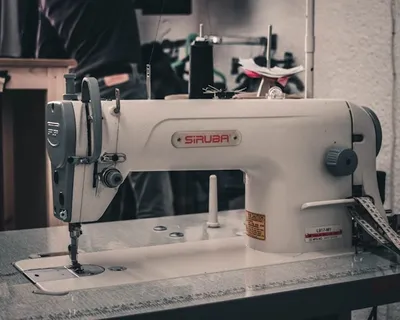
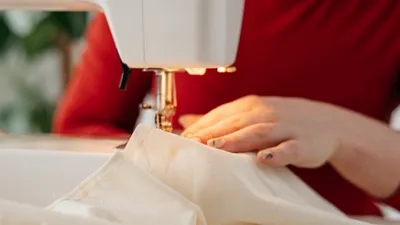
Yes - a regular sewing machine makes excellent patches. It cannot auto-stitch a digitized design like an embroidery machine, but it fills, outlines, and edges fabric shapes with full manual control.
The difference is honest: an embroidery machine follows a file; a sewing machine follows your hands. Applique-style patches - cut fabric shapes with stitched borders - are where a normal machine shines, and free-motion stitching (feed dogs dropped, you steer) can even draw with thread.
Expect a learning curve of a few practice pieces. Slow the machine down, and let the how to sew on a patch guide handle the attachment end of the job when the patch is done.
Which Sewing Machine Stitches Work Best For DIY Patches?
Zigzag is the workhorse - set it narrow and dense, and it seals raw edges while outlining the shape. A satin stitch (a zigzag tightened until the stitches touch) gives the closest match to a professional patch border.
Settings that matter more than stitch choice:
- Stitch density: seam research finds moderate density around 10 stitches per inch holds strongest, while cramming stitches causes puckering
- Width: 2 to 3 mm covers most patch edges cleanly
- A fresh needle: dull needles chew fabric edges into fray-starters
Run the border twice around for durability instead of once at maximum density. Decorative stitches are fine inside the design, but keep the edge to zigzag or satin - they are the two that actually prevent fraying.
How Can You Make Custom Patches Without Sewing?
No-sew patches rely on adhesives, transfers, and paint instead of thread. They are faster and flatter than stitched work, and hard to get wrong - with a durability ceiling you should know about upfront.
Four methods, matched to their best use:
- Fusible web: bonds fabric shapes with iron heat; a 2018 review of fusible interlinings found these adhesives activate at 130 to 160 degrees Celsius, household-iron territory
- Iron-on transfer paper: prints full-color artwork onto fabric - the photo-detail route
- Fabric paint: hand-painted designs on canvas or cotton, sealed by heat-setting
- Fabric glue: attaches finished patches or layers without heat
Our comparison of heat transfer vs embroidery covers how printed methods stack against stitched ones when durability starts to matter.
Which No-Sew Solutions And Adhesive Materials Work Best?
Fusible web wins for bonding layers, fabric glue wins for quick fixes, and iron-on adhesive sheets win for adding a pressable backing to a finished patch. None of them beats stitching for permanence - that is the honest ranking.
Where each belongs:
- Fusible web: joining applique layers before edge sealing
- Adhesive sheets: converting any DIY patch into an iron-on
- Fabric glue: display pieces and low-wash items
- Seam sealant: edges only - it stops fraying, not attachment
Expect glued work to survive gentle, occasional washing, not weekly laundry. For anything worn hard, glue the patch in place first, then add stitches - the glue holds position while the thread holds the years.
Need photo-quality artwork on a patch?
Custom heat transfer patches reproduce detailed, full-color designs that hand methods cannot match, ready to press onto your garments.
How Do You Finish And Reinforce DIY Patches?
Finishing is what upgrades a craft project into something that looks bought: stabilize the body, back the patch, and seal the edge. Skip any one of the three and the patch announces itself as homemade within a month.
Build the reinforcement stack bottom to top:
- Stabilizer or fused interfacing for stiffness
- A backing layer - felt, twill, or an iron-on adhesive sheet
- An edge finish - stitched border or sealant
Press the finished patch from the back to set everything flat. If your design deserves a merrowed border - the wrapped edge on classic patches that home equipment cannot replicate - work with us on custom embroidered patches and we will produce it with the exact border and backing you want.
How Can You Make Homemade Patches Last Longer?
Reinforce the corners and edges - that is where every patch dies first. A few extra tacking stitches at each corner cost a minute and double the working life.
Durability moves that pay off:
- Double-stitch the border, especially on high-flex spots like sleeves
- Use polyester thread, which outlasts cotton through wash cycles
- Fuse interfacing to the back to stop the fabric flexing the stitches loose
- Round sharp corners at the design stage - points fray and snag before curves do
For patches on heavy-use garments like work jackets or daily backpacks, plan on stitched attachment rather than adhesive from day one.
Making patches for a whole crew on a budget?
Our custom cheap patches get personalized designs onto jackets, bags, and uniforms without the cost of DIY supplies and trial runs.
Get startedHow Do You Prevent Fraying And Make DIY Patches More Durable?
Fraying starts the moment a woven edge is cut, so stabilization is prevention, not repair. Fuse interfacing before cutting your shapes, and the weave holds itself together while you work.
After cutting, seal the edge with one of three finishes: a dense zigzag or satin border, a bead of liquid seam sealant, or a fold-and-topstitch hem on larger patches. Felt users get a pass - there is no weave to unravel.
We've noticed where the failures cluster, too: patches on cuffs, elbows, and bag bottoms fray two or three times faster than chest or shoulder placements, because they rub against surfaces all day. Put your first patch somewhere calm, and save the high-friction spots for stitched, sealed veterans.
Long term, durability is a system: stable base, sealed edge, strong attachment. Get all three right and a homemade patch survives years of wear; miss one and that is where it fails first.
How Do You Prevent Fraying On Canvas Patches?
Canvas frays aggressively - it is the one fabric where edge sealing is mandatory, not optional. Seal the cut line before anything else touches the patch.
What works, in order of durability: a satin-stitched border (best), liquid seam sealant brushed along the edge (good), and pinking shears plus sealant for low-wear pieces (acceptable). A lighter trick: fuse the canvas to felt first, cut both together, and the felt edge shields the canvas weave.
Check sealed edges after the first two washes - canvas shows fraying early, and one touch-up of sealant at that point usually settles it for good.
How Should You Wash And Maintain Homemade Patches?
Wash patched garments cold, gentle, and inside out - all three, every time. Heat and agitation are what break down both adhesives and hand stitching.
Follow the garment's own care label too; the FTC's Care Labeling Rule requires accurate care instructions on garments, and the label's limits apply to whatever you attach. Air dry when you can - dryer heat is the quiet killer of glued bonds.
Painted patches get one extra rule: no ironing directly over the paint. Press around them, or from the inside. A mesh laundry bag adds cheap insurance for anything hand-tufted.
Maintained this way, hand-stitched patches routinely outlive the garment. Making a batch for a team or small brand instead? Work with us on custom wholesale patches - matching designs, generous bulk discounts, and a free digital proof before production.
What Common Mistakes Should You Avoid When Making DIY Patches?
Skipping stabilizer is mistake number one - the patch curls, puckers, and never lies flat again. Everything else is fixable; a warped base is not.
Here are the rest of the repeat offenders:
- Wrong adhesive for the job - craft glue is not fabric glue; check the label for "washable"
- Unsealed edges on woven fabric - fraying begins wash one
- Ironing paint or transfers directly - always use a pressing cloth
- Attaching before the design is fully dry or set - paint needs 24 hours, most glues too

Every one of these costs a finished patch to learn the hard way. Read the label, seal the edge, and let things dry - the boring habits are the ones that work.
Frequently Asked Questions About How To Make Patches Without Embroidery Machine
How Can You Make Patches Without An Embroidery Machine?
Use hand embroidery, a regular sewing machine, hand-tufted chenille, fabric paint, or iron-on transfers on a stabilized fabric base, then seal the edges and add a sew-on or iron-on backing.
What Materials Do You Need To Make DIY Patches?
Base fabric, stabilizer, thread or floss, sharp scissors, and a hoop cover the essentials; fusible web, seam sealant, and transfer paper extend you into no-sew methods.