How To Make Embroidered Patches For Professional Diy Results At Home
Making your own patch sounds simple until the fabric puckers or the edges fray on the first wash. The gap between a homemade patch and a clean, durable one comes down to a handful of choices most tutorials skip. In this guide, we walk you through how to make embroidered patches that hold up and look sharp.
Key Takeaways
- You need the right base and backing. Twill plus a cutaway stabilizer keeps the fabric flat so stitches do not pull or pucker as they build up.
- Borders make or break the result. A tight satin-stitch edge seals the patch and stops fraying, and a hot knife or fabric glue locks it down for good.
- Pick your method by skill and quantity. Hand stitching suits one detailed piece, a home machine handles a few, and ordering wins for matching batches.
- We supply high-quality custom embroidered patches that you can personalize with any logo, text, or artwork, in your choice of size and backing, at a price that works for you.
Table of contents
-
How To Make Embroidered Patches?
-
What Supplies And Materials Are Needed For DIY Embroidered Patches?
-
How To Make Embroidery Patch Designs With An Embroidery Machine?
-
How Do You Stitch The Design And Finish The Borders Properly?
-
How To Create Iron-On Embroidered Patches Easily?
-
How To Embroider Patches By Hand For Wearable Art?
-
How To Turn Your Hand Embroidered Art Into A Wearable Patch?
-
Where Can You Find Blank Patches Designs And Resources For Embroidery?
How To Make Embroidered Patches?
Making an embroidered patch means stitching a design onto a fabric base, sealing the edge, then adding a backing so it attaches to clothing. Here’s the full step-by-step process:
- Plan and digitize your design: Keep it simple and bold, sized between 2 and 4 inches with no more than 3 or 4 colors. Then digitize the artwork into a stitch file your machine can read.
- Pick your fabric stabilizer: Use twill for a durable, crisp patch, paired with a cutaway stabilizer for anything that gets washed often.
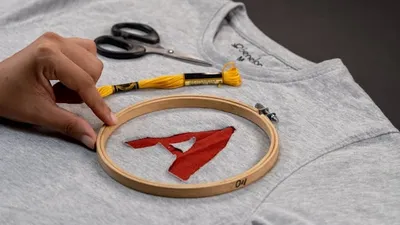
- Hoop them together: Layer the stabilizer underneath and the fabric on top, pulled taut but never stretched so the patch won’t pucker.
- Stitch the design: Run a test patch first to catch tension problems, then work from the center outward, filling solid areas before fine details.
- Finish the border: Add a satin stitch around the edge to seal it and stop fraying, keeping the band under about half an inch wide.
- Cut and seal the edge: Trim close to the border, then seal it with a hot knife on synthetics or fabric glue on cotton and felt.
- Add a backing: Pick iron-on for quick application or sew-on for the strongest hold, then press or stitch it onto the finished patch.
We've made thousands of these, and the same mistakes show up again and again: thin fabric, no stabilizer, and a loose edge. If you would rather skip the trial runs, our custom embroidered patches arrive finished. The steps below work whether you make or order.
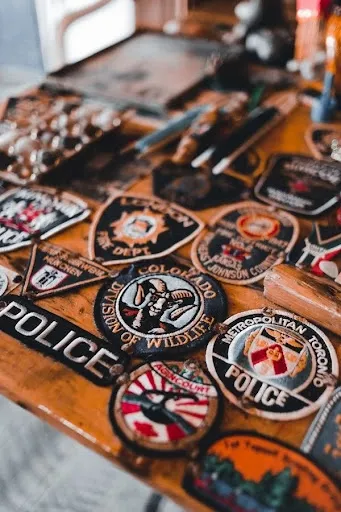
How Can You Design And Create Custom Embroidered Patches?
Start your design simple and bold, because thread cannot hold the fine detail that ink can.
Embroidery shapes the design onto the fabric stitch by stitch, so anything too small turns into a blob. Bold outlines and high-contrast colors read well at patch size.
Once the artwork is set, you digitize it - that means converting the image into a stitch file your machine can read. We've found that a clean, simplified design digitizes far better than a busy one, since every extra color adds a thread change and a chance for misalignment. Cut detail before you cut fabric.
Not ready to wrestle with software? Work with us to build it in a browser instead - our make your own patch wizard turns your artwork into a finished patch, sized and backed however you like.
What Supplies And Materials Are Needed For DIY Embroidered Patches?
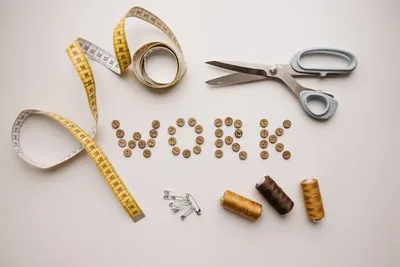
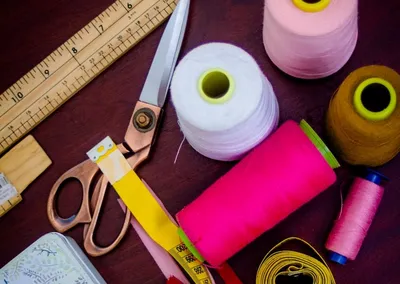
You need a base fabric, a stabilizer, embroidery thread, a needle, and a way to seal the edge. A beginner kit is short:
- Twill or felt for the patch base
- A cutaway stabilizer to hold the fabric flat
- Polyester embroidery thread in your chosen colors
- Sharp scissors plus a hot knife or fabric glue for the edge
- An iron-on or sew-on backing
An embroidery machine and digitizing software move you from one-off to repeatable, but they carry a real cost and learning curve. A starter machine and software run into the hundreds before your first patch is finished.
We've seen makers waste fabric by skipping the stabilizer to save a step. Don't. It's the least expensive part of the kit and the one piece that prevents puckering.
| Base fabric | Best for | Stabilizer | Watch out for |
|---|---|---|---|
| Twill | Logos, lettering, durable everyday patches | Cutaway | Slight stretch on the bias |
| Felt | Bold shapes, beginner projects | Tear-away or cutaway | Pills and fuzzes over time |
| Canvas | Large, detailed designs | Cutaway | Stiff and harder to hand stitch |
| Denim | Rugged, casual patches | Cutaway | Frays fast if the edge is not sealed |
What Fabric And Stabilizer Work Best For Embroidery Patches?
Twill is the standard for a reason: it's tightly woven, so it takes dense stitching and holds a crisp edge. Felt is friendlier for a first try, while canvas suits larger, detailed work that needs more body.
Weave matters because denser fabrics stay stable under the needle and give a smoother surface. A loose, stretchy fabric shifts as it stitches, and that shifting is where puckering starts.
Stabilizer pairs with the fabric. A cutaway stays behind the patch for permanent support, while a tear-away pulls off after stitching. For anything that will be washed often, we use cutaway, because it keeps the design flat over time.
Want embroidered patches without the learning curve?
Work with us to create custom embroidered patches in any design you want, made on durable twill with clean stitching at competitive prices.
How To Make Embroidery Patch Designs With An Embroidery Machine?
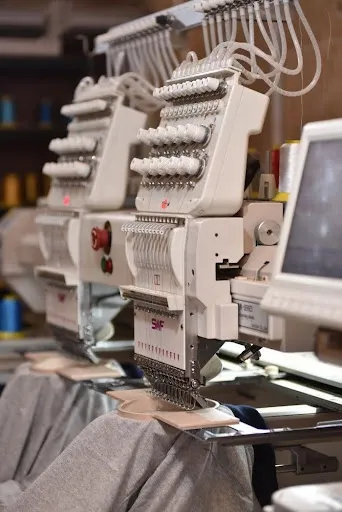
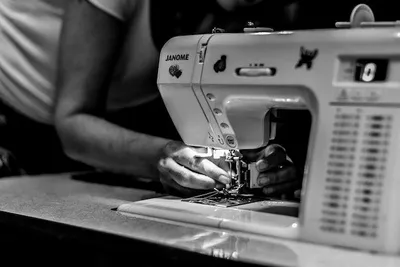
A machine stitches your digitized file automatically once the fabric is hooped and the thread is loaded. The real work is in the setup: load the file, set the colors in order, then run a test before the final piece.
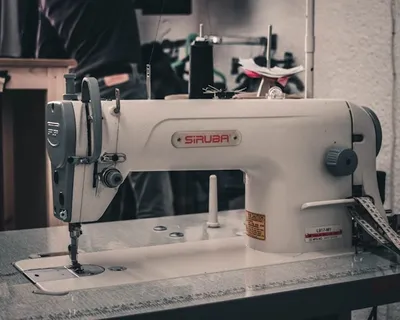
Match the machine to the job. A home machine handles small patches and short runs, while detailed or high-volume designs need a sturdier machine and good software. If you are choosing one, our guide to the best embroidery machine for patches breaks down the trade-offs.
We always stitch a test patch on the same fabric first. It flags broken thread and tension problems before they ruin a real blank. Two minutes of testing saves a wasted patch.
How Do You Prep Stabilizer And Fabric For Patch Embroidery?
Hoop the stabilizer and fabric together, pulled taut but never stretched. Over-tightening distorts the fabric so it springs back and puckers the moment you release the hoop.
Layer it in order: stabilizer underneath, fabric on top, both gripped firmly by the hoop. For slippery or thin fabric, a light adhesive spray or a topping film keeps everything aligned during stitching.
The smallest hoop that fits the design gives the most control, we've found. The closer the hoop sits to the artwork, the less the fabric can wander mid-stitch. Check it lies flat before you start.
Need iron-on patches you can apply in minutes?
Our custom iron-on patches arrive ready to press onto jackets, hats, and bags, so you skip the backing step and still get a hold that lasts.
Learn moreHow Do You Stitch The Design And Finish The Borders Properly?
Stitch the design from the center outward, fill the areas first, then add the border last to lock the edges. That border is a satin stitch - a band of tight, parallel stitches that covers the raw edge and stops fraying.
Edge stitching is an old idea. Makers have used stitches to strengthen a join for as long as cloth has existed, and a patch border does exactly that job. Keep the satin band even and dense for a clean finish.
Width matters here. A satin border usually works under about half an inch wide; go wider and the thread floats and snags. We keep borders tight and narrow, then check the back for loose threads before calling it done.
How Do You Cut And Seal Embroidered Patch Edges?
Trim the excess fabric close to the satin border, leaving a thin margin so you do not nick the stitches. Then seal the edge so it cannot fray.
- A hot knife melts synthetic fabric as it cuts, leaving a clean fused edge
- Fabric glue along the back of the border holds natural fabrics in place
- A second pass of satin stitch reinforces any weak spot
On twill, we've found a hot knife gives the most professional edge, though it only works on synthetics. On cotton or felt, glue the margin down instead. A sealed edge is the difference between a patch that lasts and one that unravels in the wash.
How To Create Iron-On Embroidered Patches Easily?
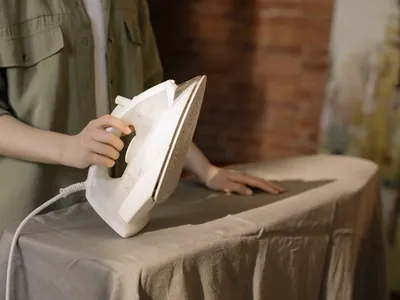
An iron-on patch is just a finished embroidered patch with a heat-activated adhesive on the back. You add the backing after stitching, then press it onto fabric with an iron to melt the glue into a bond.
It's the beginner-friendly route because there's no sewing needed to attach it. Iron-on works well on cotton and denim that can take heat, and it's quick for hats, jackets, and tote bags.
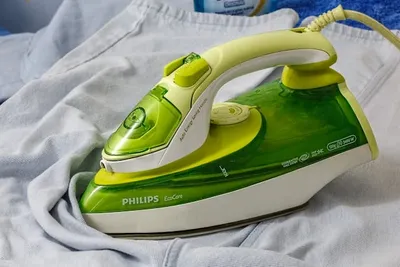
Use a medium-high iron with the steam off and press firmly for about 15 seconds.
Adding clean, even adhesive at home is fiddly. Work with us to skip that step - our custom iron-on patches arrive ready to press, in any design you want, with a backing that holds through normal wear.
Why Choose Iron-On Patches Instead Of Sew-On Patches?
Choose iron-on for speed and convenience, and sew-on for maximum hold. A pressed patch goes on in two minutes; a sewn patch takes longer but grips far better through repeated washing.
Iron-on has limits, though. The adhesive softens over many hot washes, and it will not bond to heat-sensitive or heavily textured fabric. For gear that gets rough use, sewing the edge down adds real staying power.
We often suggest doing both. Iron the patch on to position it, then sew the border for a permanent hold. That combination gives you the easy placement of iron-on with the durability of stitching.
Rather design a patch than stitch one?
Use our make-your-own-patch wizard to turn your artwork into a finished patch in your choice of size, shape, color, and backing.
How To Embroider Patches By Hand For Wearable Art?
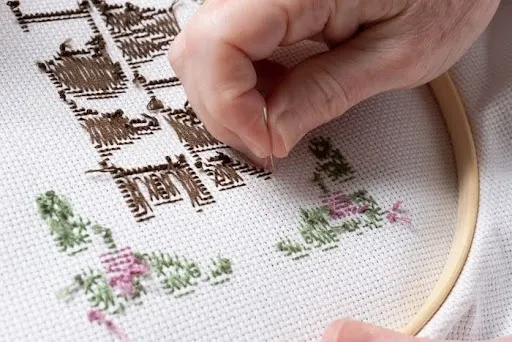
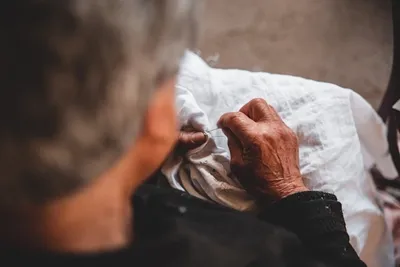
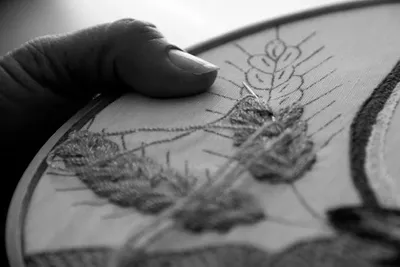
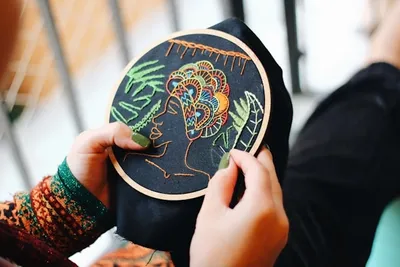
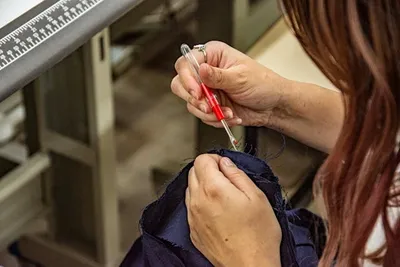
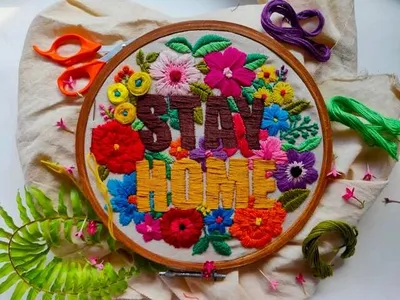
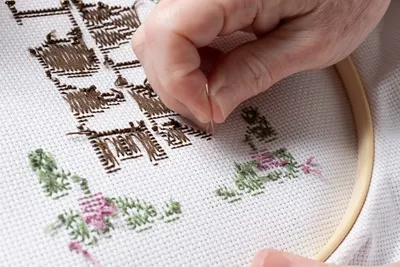
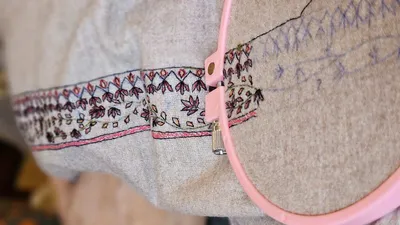
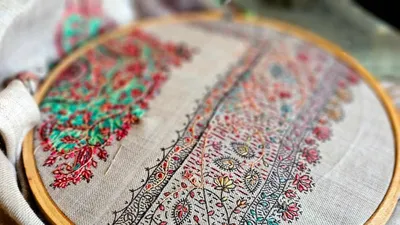
Hand embroidery means stitching the design yourself with a needle and floss, no machine involved. It's slower, but it gives you full control and a handmade character that machines cannot copy.
A few stitches cover most hand patches:
- A backstitch for crisp outlines and lettering
- A satin stitch to fill small solid shapes
- A running stitch for borders and simple linework
Hand-stitch traditions run deep. The centuries-old sashiko method of reinforcing cloth turned plain running stitches into durable, wearable art, and those same simple stitches build a patch today. A backstitch outline with a satin or fill center covers most designs.
Be realistic about time. A detailed hand patch can take hours, and keeping the stitches even takes practice. We would steer a first-timer toward a simple motif, and our guide on embroidered patches by hand walks through a full project.
Outfitting a team, brand, or event with patches?
Order custom wholesale patches to get matching designs across a whole batch, with generous bulk discounts that bring the price per patch down.
Get startedHow To Turn Your Hand Embroidered Art Into A Wearable Patch?
To make hand embroidery wearable, you finish it like a patch: trim around the design, seal the edge, then add a backing. Without that finishing, the threads on a loose square of fabric will fray and pull.
Back the piece with felt or an iron-on adhesive sheet to add body and protect the stitches. A felt backing sewn on also hides the messy reverse and makes the patch stiff enough to attach cleanly.
Delicate hand stitching needs support. We reinforce it with a fabric stiffener or a fusible backing before cutting, which keeps the design from distorting when it's handled, sewn, or washed.
What Are The Easiest DIY Embroidered Patches For Beginners?
The easiest first patches are simple shapes and initials: a heart, a star, a single letter, or a small flower. They use few colors and forgiving stitches that hide small mistakes.
Letters make a great starting point because they're bold and quick. If you want clean monograms without the practice runs, our custom monogram patches handle the lettering for you in any color or font.
Keep beginner patches small, under about 3 inches, so there's less area to stitch and less chance of puckering. A small win builds the skill for bigger designs later.
Where Can You Find Blank Patches Designs And Resources For Embroidery?
Blank patch bases, designs, and supplies come from a few reliable places:
- Craft and fabric stores for blanks, twill, felt, and stabilizer
- Online embroidery marketplaces for digitized design files
- Pattern libraries for free and paid stitch designs
Watch the licensing on anything you download. A pattern for personal use is fine; selling patches of someone else's artwork or a trademarked logo can land you in trouble. We only reproduce designs a customer has the rights to, and we would give you the same advice for your own makes.
When a project grows past a few patches, making each one by hand stops making sense. Work with us to produce them at scale - our custom wholesale patches bring the per-patch price down with bulk discounts while keeping every patch identical.
What Are The Different Types Of Embroidered Woven And Printed Patches?
The three common patch types are embroidered, woven, and printed, and they differ in texture and detail. Embroidered patches are raised and textured; woven patches lie flat and hold finer detail; printed patches reproduce full-color images and gradients.
| Patch type | Look and feel | Best for | Trade-off |
|---|---|---|---|
| Embroidered | Raised, textured thread | Logos, lettering, a classic look | Limited fine detail |
| Woven | Flat, smooth, sharp detail | Small text, intricate designs | Less texture and depth |
| Printed | Flat, full color, photographic | Gradients, complex artwork | Softer, less tactile |
Match the type to your design. A detailed crest with tiny text comes out cleaner as a woven patch, while a bold badge looks sharp embroidered. We've seen people force fine detail into embroidery and end up disappointed, so let the artwork choose the method.
Frequently Asked Questions About How To Make Embroidered Patches
How To Sew Embroidered Patches?
To sew a patch on, pin it in place, then stitch around the border with a needle and thread using a running stitch or whipstitch. Sewn patches hold far better than glued ones, especially through repeated washing.
What Tools And Materials Are Needed For DIY Embroidered Patches?
You need a base fabric like twill, a cutaway stabilizer, embroidery thread, a needle or machine, sharp scissors, and a backing. A hot knife or fabric glue seals the edge for a clean, lasting finish.