How To Make An Applique Patch For Beautiful Diy And Embroidered Creations
An applique patch lets you get big, colorful designs without stitching every inch of them.The trick is knowing which fabric, stabilizer, and stitch order actually hold up. In this guide, we cover how to make an applique patch from the first template to the finished edge, for both handcrafters and machine users.

Key Takeaways
- An applique patch uses cut fabric shapes stitched onto a base, so large areas of color come from cloth, not thread. That keeps the stitch count and costs down.
- The stitch order matters most: placement line, tack-down, trim, then a satin or meowed border. Skipping the trim step is the beginner mistake we see most often.
- Attachment is a separate decision: Iron-on is fast for cotton and denim, while sew-on survives heavy washing. Make your pick based on garment, not habit.
- We supply high-quality custom patches that you can personalize with your own applique-style artwork, colors, shapes, and backing options at a price that works for you.
Table of contents
-
How To Make An Applique Patch?
-
What Materials And Tools Do You Need To Make Applique Patches?
-
What Is The Step-By-Step Applique Patch Creation Process?
-
How Do You Embroider An Applique Patch?
-
How Do You Create Applique Designs In Embroidery Software?
-
How Do You Improve Hooping, Cutting And Edge Finishing Accuracy?
-
How To Make Custom Applique Patches Without Sewing?
-
How Do Professionals Produce Commercial Appliqué Patches?
How To Make An Applique Patch?
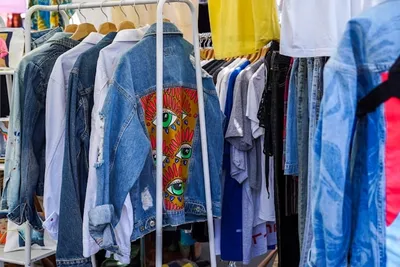
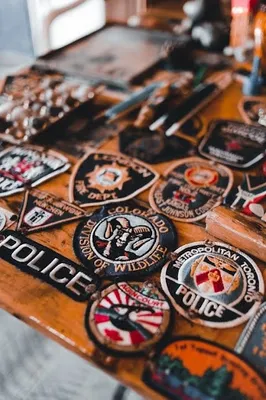
To make an applique patch, you cut a fabric shape, stitch it to a stable base, cover the raw edge with a satin or merrowed border (a dense wrap of thread around the edge), and then attach the finished piece as iron-on or sew-on. A standard embroidered patch fills the design with thread; applique replaces the big fill areas with cloth, which is faster and softer.
The craft has deep roots - the Smithsonian's National Quilt Collection documents applique needlework traditions going back to the 1700s. The patch version shrinks the technique to jacket scale - custom patches typically run 2 to 12 inches.
Choose applique over full embroidery when large solid areas dominate the design - roughly anything where a single color fills half the patch or more. Fabric fills those areas faster, keeps the patch softer and lighter, and cuts thread cost. Fine detail, small text, and shading still belong to standard embroidery.
You can work three ways:
- Hand stitching with a needle and embroidery floss
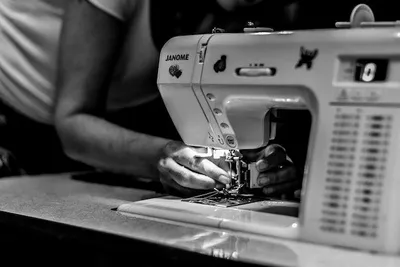
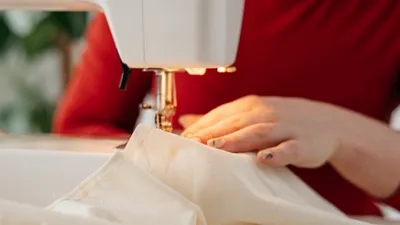
- A regular sewing machine using zigzag or satin stitches
- An embroidery machine running a digitized applique file
We cover all three below - the types of embroidered patches guide is a useful companion if you are still choosing a style.
What Materials And Tools Do You Need To Make Applique Patches?
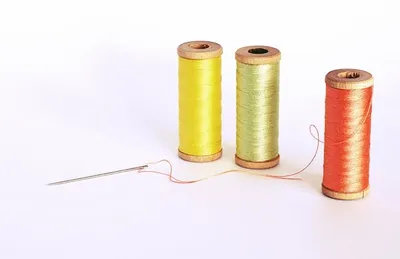
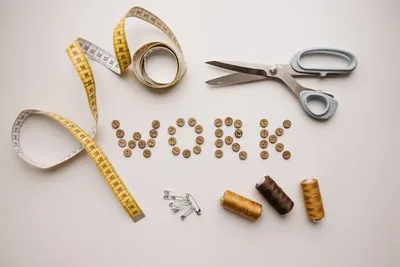
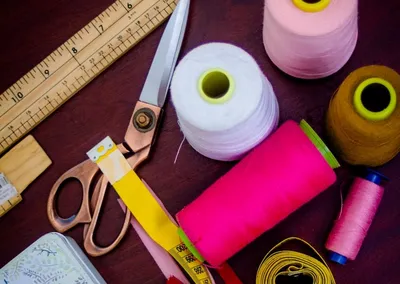
You need less than most tutorials suggest: base fabric, applique fabric, stabilizer, thread, and sharp scissors cover nearly the whole job. Everything else is convenience.
Our working checklist:
- Base: twill or felt, cut larger than the finished patch
- Applique fabric: quilting cotton or scraps with a tight weave
- Stabilizer: tear-away or cutaway to stop puckering
- Thread: polyester embroidery thread for the border
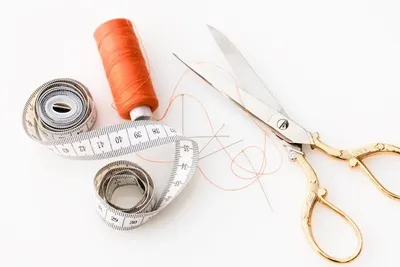
- Tools: curved-tip scissors, fabric marker, small iron
Quality matters most at the edge. A cheap, loosely woven applique fabric frays under the border stitch no matter how careful you are, so spend there first.
Which Fabrics, Threads, And Stabilizers Work Best For Applique Patches?
Twill is our default base, felt is the most forgiving for beginners, and quilting cotton is the easiest applique layer to cut cleanly. Canvas works for rugged patches but needs a sharper needle.
| Material | Best Use | Watch Out For |
|---|---|---|
| Twill base | Jackets, caps, uniforms | Needs a stabilizer underneath |
| Felt base | First projects, kids' patches | Pills after heavy washing |
| Canvas base | Bags, workwear | Frays fast at cut edges |
| Quilting cotton (applique layer) | Crisp shapes, bright colors | Thin - can shadow dark bases |
Pair tear-away stabilizer with stable wovens and cutaway with anything stretchy. For thread, standard polyester handles washing better than rayon. Match your stabilizer to the fabric before you blame the machine for bad stitches.
If you would rather test a finished reference before buying supplies, work with us on custom embroidered patches - a single professionally made sample shows you exactly what a clean border and backing should feel like.
Want your applique design made by professionals?
Work with us to turn your artwork into custom embroidered patches with the exact fabrics, borders, and backing you want at competitive prices.
What Is The Step-By-Step Applique Patch Creation Process?
The full process runs in seven steps, and the order is not negotiable - each stage protects the next one. We've seen more patches ruined by trimming too late than by any stitching mistake.
- Draw or print the template at actual size, then trace it onto the applique fabric. Mirror the template if you transfer from the back.
- Hoop the base fabric with stabilizer so both layers are drum-tight.
- Stitch the placement line - a single running outline that shows where the applique goes.
- Lay the applique fabric over the line and stitch the tack-down, a second outline that locks it in place.
- Trim the excess applique fabric close to the tack-down, about 1/8 inch out, using curved-tip scissors.
- Stitch the border - satin stitch by machine, or a tight blanket stitch by hand.
- Remove stabilizer, press, and cut out the patch, leaving enough margin for your edge finish.
Do a test run on scrap before touching your good fabric. It costs ten minutes and saves the whole project.
How Do You Prepare The Fabric And Template?
Preparation decides whether the shape comes out crisp. Wash and press both fabrics first - shrinkage after assembly warps the patch permanently.
Trace with a removable fabric marker, and cut the applique piece slightly oversized rather than exact; the tack-down and trim steps will true it up. Working by hand instead of machine? The how to make embroidered patches by hand guide walks the same preparation with hoop-and-floss tools.
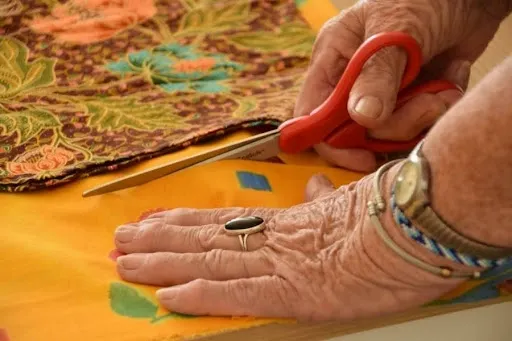
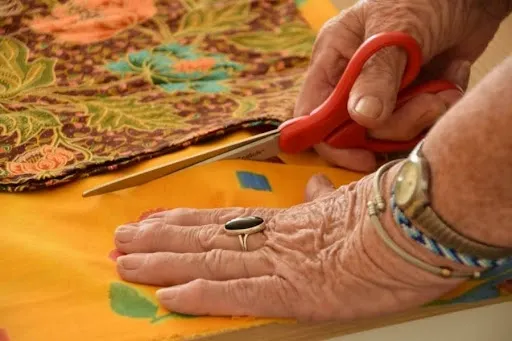
Cutting accuracy improves fast with two habits: long scissor strokes instead of short snips, and turning the fabric, not your wrist, on curves.
Need an applique patch that attaches in seconds?
Our custom iron-on patches come with heat-activated backing already applied, so your finished design presses onto jackets, bags, and caps cleanly.
Learn moreHow Do You Embroider An Applique Patch?
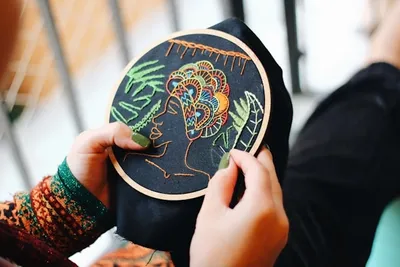
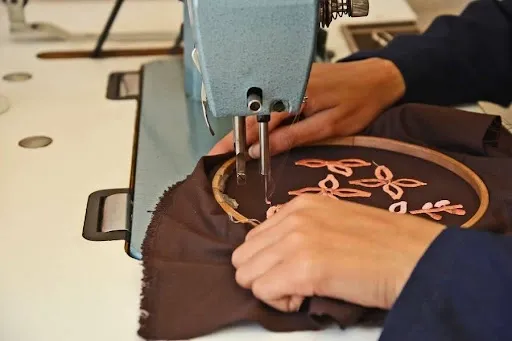
Machine embroidery of an applique runs the same sequence as step 3 to 6 above: placement, tack-down, trim, border - the machine simply stops between stages so you can act. Load the design, and don't skip the stops.
Placement matters more than speed. Keep the design centered in the hoop, because edge-of-hoop stitching distorts circles into ovals. If your file was digitized well, the final satin border should land half on the applique fabric, half on the base, sealing the raw edge completely.
Finish with a press from the back side so the stitches stay raised. We recommend this stage even for patches that look flat-out done - it sets the thread.
How Can You Improve Stitch Quality During Embroidery?
Most stitch problems trace back to tension and density, not the machine's price tag. Loosen the top tension slightly if bobbin thread shows on the border; tighten it if the satin edge looks loopy.
Density has a sweet spot. A 2022 study in Textile & Leather Review found seams performed best at a moderate stitch density level, around 10 stitches per inch, while overly dense stitching caused puckering - the same logic applies to patch borders.
Trim thread tails as you go, and cut excess applique fabric close and clean; anything left poking through the satin border shows forever. Get these three right before ordering custom patches for jackets based on your own design - clean samples make better production references.
How Do You Create Applique Designs In Embroidery Software?
Digitizing software turns your artwork into the placement, tack-down, and border sequence the machine follows - doing this well is what separates crisp patches from lumpy ones. Auto-digitized files rarely sequence applique correctly, so learn the manual settings.
Prepare the image first: simplify to flat shapes, remove gradients, and thicken any line thinner than 1 mm. Then assign each shape its stitch type and set the applique stops.
Sequence from background to foreground, and keep lettering as the last layer. A design that stitches in the wrong order traps fabric edges under earlier stitching, and no border can hide that.
Which Digitizing Software Works Best For Applique Patterns?
Beginners should start with entry-level tools like Embrilliance or the software bundled with their machine; professionals gravitate to full suites like Wilcom or Hatch for precise stitch control. The honest difference is not the quality of output but how much the software decides for you.
Check three things before committing:
- Applique support with automatic stop placement
- File formats your machine reads (PES, DST, JEF)
- Editable stitch density for borders
Skill level should drive the choice - a complex suite slows a beginner down more than it helps. If digitizing is the part you want to skip entirely, work with us: send your artwork and we handle the digitizing and production with a free digital proof before anything goes into production.
Making patches on a tight craft budget?
Our custom cheap patches give you personalized applique-style designs without the cost of software, stabilizers, and machine time.
How Do You Improve Hooping, Cutting And Edge Finishing Accuracy?
Precision here is what makes a patch look bought instead of homemade. Hoop so the fabric is tight but not stretched - overstretched fabric snaps back after unhooping and wrinkles the design.
Three accuracy habits we rely on:
- Float thick fabrics on top of the hooped stabilizer instead of forcing them into the hoop
- Mark center lines on the stabilizer so re-hooping stays aligned
- Let the machine finish each stage fully before trimming
One more mistake to avoid: hoop marks. A tight hoop can press a shiny ring into the fabric around the patch. Mist the ring lightly with water and press from the back, and it releases.
Rushing the trim between tack-down and border is where most distortion enters. Slow down at exactly that step.
Which Cutting And Edge Finishing Methods Produce Cleaner Applique Patches?
A merrowed border - the wrapped, slightly raised edge you see on classic patches - gives the cleanest finish on simple shapes, while a hot cut edge (melted with heat as it is cut) suits intricate outlines. At home, a tight satin stitch is the practical stand-in for merrowing, which needs special equipment.
Heat sealing works only on synthetic fabrics like polyester twill; natural fibers scorch instead of sealing. Test on a scrap corner first.
Whichever finish you choose, cut with the patch face-up so you can see the border the whole time. For shapes with sharp inside corners, clip carefully toward the corner - or choose a simpler outline, which is the fix professionals quietly prefer.
Producing applique patches for a team or brand?
Get custom wholesale patches in matching batches with generous bulk discounts, so every jacket, uniform, or cap carries the same clean design.
Get startedHow To Make Custom Applique Patches Without Sewing?
You can build a no-sew applique patch with fusible web - a heat-activated adhesive sheet that bonds fabric layers when pressed. A 2018 review of fusible interlinings found most garment adhesives melt at 130 to 160 degrees Celsius, well within reach of a household iron.
Layer it like this: fuse the applique shape to the base, then seal the edge with fabric glue or liquid seam sealant instead of a stitched border. The look is flatter than stitched applique but perfectly clean.
Be honest about durability: glued edges are temporary to semi-permanent. They handle gentle washing, not weekly laundry cycles. For patches that need to last years, stitching or professional backing wins.
What Are The Best Attachment Techniques: Iron-On Or Sew-On?
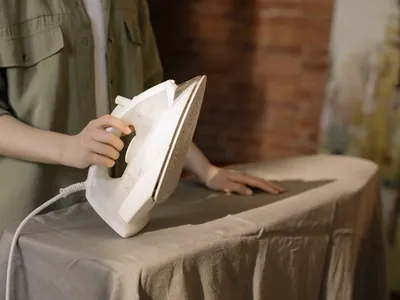
Iron-on wins for speed, sew-on wins for lifespan - that is the whole decision in one line. Iron-on backing bonds well to cotton, denim, and twill, and our parchment paper iron-on guide shows the exact press technique. Sew-on suits leather, nylon, waterproof shells, and anything dry-clean-only.
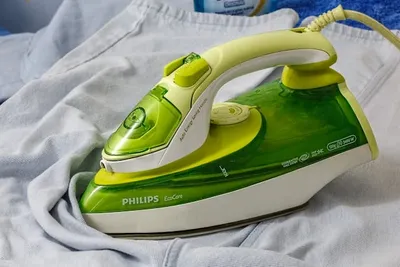
One technique note from pressing research: press by lowering and lifting the iron, not sliding it - New Mexico State University's pressing guidance shows sliding stretches the fabric under the patch.
Match the method to the garment's washing reality, then commit. A hybrid works too: iron on first for placement, then stitch the edge for permanence.
How Do Professionals Produce Commercial Appliqué Patches?
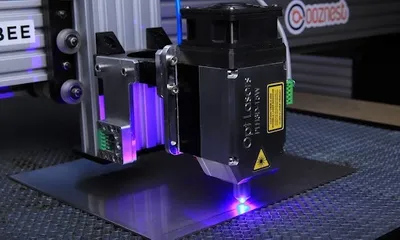
Commercial shops run the same four-stage sequence you just learned, but with multi-head embroidery machines stitching a dozen patches at once, laser cutters for the applique shapes, and merrow machines for the border. The process does not change; the consistency does.
That consistency is the real product. Batch 200 patches by hand and the 200th will not match the 1st; a production setup holds identical color, size, and edge across the run - which is what teams, brands, and schools actually need.
One legal step matters before any commercial run: confirm you have rights to the artwork. The USPTO explains what a trademark actually protects - logos and brand marks need permission, while your original designs are yours to produce.
What Professional Tips Help You Create Better Appliqué Patches?
Test the full design once, then never improvise mid-batch - that is the habit that separates production work from crafting. Every shortcut we've seen taken mid-run shows up in the finished pile.
Habits worth stealing from the pros:
- Keep a settings log of thread, tension, and stabilizer per fabric
- Cut all applique shapes before stitching any patch in a batch
- Inspect edges under raking light, which shows loose trim instantly
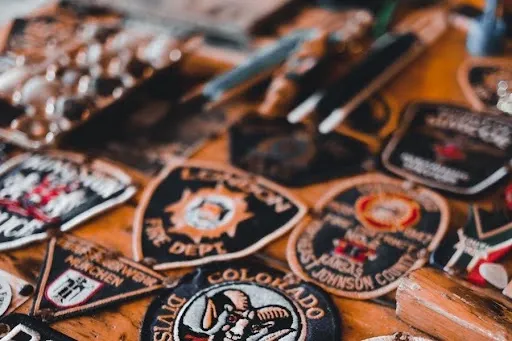
When a project outgrows your machine time, work with us on custom wholesale patches - we produce matching batches with generous bulk discounts, a free digital proof within 30 minutes on See Design Pay Later orders, and standard turnaround of 5 to 7 business days after proof approval.
Frequently Asked Questions About How To Make An Applique Patch
How To Make Applique Patches From Scratch?
Cut a fabric shape, stitch it to a stabilized base with a placement line and tack-down, trim the excess, then seal the raw edge with a satin or blanket-stitch border before cutting out the patch.
Which Materials Are Best For Making Appliqué Patches?
Twill or felt bases, tightly woven cotton for the applique layer, polyester embroidery thread, and a tear-away or cutaway stabilizer matched to the fabric give durable, clean-edged results.