How To Press Chenille Patches For A Secure, Long-Lasting Finish
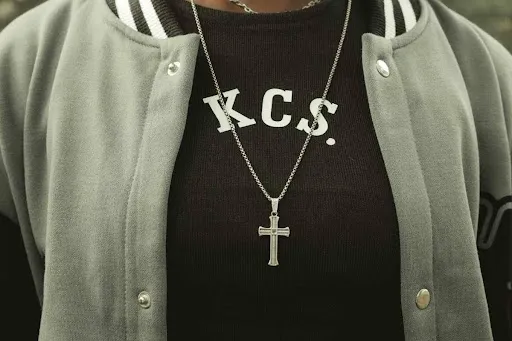
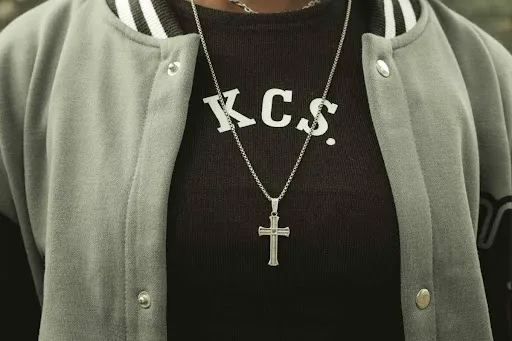
Chenille patches have that raised, fuzzy pile that makes varsity jackets look right, and that same pile is exactly what a hot press can ruin. Getting a secure bond without flattening the texture takes a specific method. In this guide, we walk you through how to press chenille patches with a heat press or a household iron.
Key Takeaways
- Chenille needs protected heat: always press through a pressing cloth or protective sheet, because direct contact flattens the raised yarn and adds shine marks.
- Press, don’t slide: Firm downward pressure for a short, timed press bonds the adhesive; moving the iron around shifts the patch and stretches the fabric.
- Check the garment first: Cotton, denim, and twill take heat well, while nylon, leather, and waterproof shells are safer with a sewn edge.
- We supply high-quality custom patches that you can personalize in chenille or any other style, with the backing you want, at a price that works for you.
Table of contents
-
How To Press Chenille Patches?
-
Can Chenille Patches Be Ironed On?
-
How To Attach Chenille Patches To Your Favorite Objects?
-
Can All Patches Be Applied With A Heat Press?
-
What Temperature And Fabrics Work Best For Chenille Patches?
-
How Do You Protect Chenille Patches While Pressing?
-
What Common Mistakes Should You Avoid When Pressing Chenille Patches?
-
How Do You Make Chenille Patches Last Longer After Pressing?
How To Press Chenille Patches?
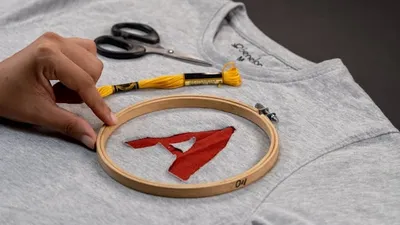
Pressing a chenille patch means using controlled heat, firm pressure, and a protective layer to melt the adhesive backing into the garment without crushing the pile. The raised yarn is the whole point of chenille, so it needs different handling than a flat embroidered patch.
Start to finish, the process runs from preheating the garment through a timed press and a slow cool-down. Both a heat press and a household iron can do the job - the press just controls temperature and pressure more evenly.
Chenille's looped yarn sits taller than embroidery thread, which is why crushing is the risk to manage. If you are curious what goes into the patch itself, our guide on how chenille patches are made shows the construction from the yarn up.
Our quick backing identification table will help you tell if the patch is heat-pressable:
| Backing condition | What it means | Recommended action |
|---|---|---|
| Confirmed heat-seal backing with instructions | Designed for heat application | Follow supplied temperature, pressure and time |
| Shiny or coated back, but no instructions | May be heat activated, but specifications are unknown | Contact the supplier or test a spare patch |
| Plain fabric or felt back | Probably sew-on | Sew rather than increasing heat |
| Peel-off liner or pressure-sensitive backing | May be self-adhesive rather than heat activated | Follow the backing instructions |
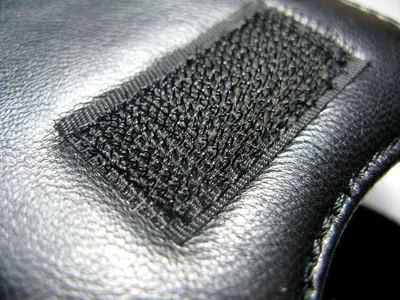
| Hook-and-loop backing | Mechanically attached | Do not heat press unless specifically permitted |
How To Apply Chenille Patches With Heat Press?
A heat press gives the most repeatable bond. Here is the sequence we recommend:
- Set the press to a low-to-medium heat setting. Most patch adhesives are designed to melt within a narrow window, so start conservative and test on scrap first.
- Pre-press the garment for 5 to 10 seconds to flatten seams and drive out moisture.
- Position the patch and secure it with heat-resistant tape so it cannot shift.
- Cover it with a pressing cloth or protective sheet - never bare metal on chenille.
- Press with medium-to-firm pressure for 10 to 15 seconds, then lift straight up.
- Flip the garment and press from the back for another 10 seconds to drive the bond deeper.
- Let it cool completely before moving or flexing the fabric.
Choose the press over an iron when you are doing more than two or three patches - alignment and timing stay consistent across the batch.
Can Chenille Patches Be Ironed On?
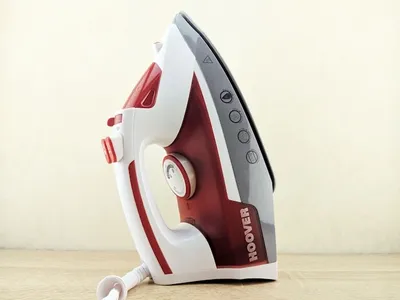
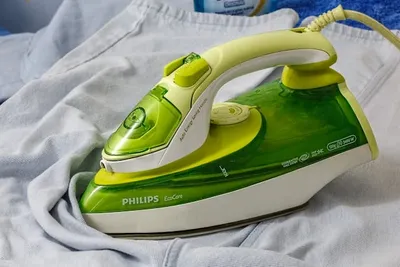
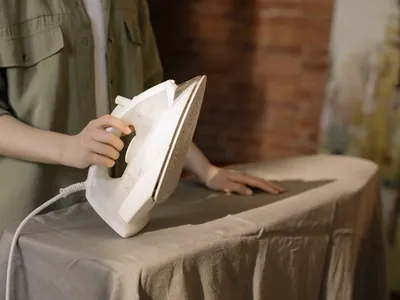
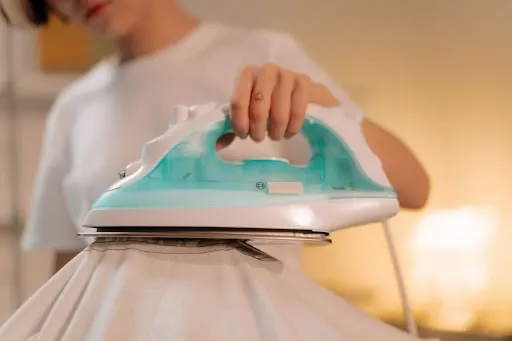
Yes - a household iron works, as long as the patch has heat-activated backing and you treat the iron like a press, not a polisher. The result can match a heat press on small jobs; it just demands more attention.
Here is the honest trade-off between the tools:
| Factor | Household Iron | Heat Press |
|---|---|---|
| Temperature control | Approximate dial settings | Precise, digital |
| Pressure | Your body weight, uneven | Even across the platen |
| Best for | 1-3 patches, quick jobs | Batches, thick garments |
| Risk | Hot spots, scorching | Low once dialed in |
One caveat from experience: older irons drift. A dial that says medium can swing hot enough to glaze pile, so give any iron a 2-minute warm-up and test it on scrap fabric before it touches the patch.
Ironing is appropriate for cotton and denim garments in good condition. Choose sewing instead when the fabric is heat-sensitive, the garment is expensive, or the patch will live through weekly washing - a stitched edge simply outlasts adhesive alone.
What Is The Correct Way To Iron On Chenille Patches?
Set the iron to a medium setting with steam off - steam interferes with the adhesive bond. Empty the water tank if your iron tends to spit.
Then press the way pressing guides teach: lower the iron, hold, and lift. New Mexico State University's pressing guidance notes that sliding the iron stretches the fabric instead of setting it. Hold firm downward pressure for 10 to 15 seconds through a pressing cloth, working in overlapping presses if the patch is larger than the soleplate.
After the garment cools, check every edge with a fingernail. Any corner that lifts gets one more 10-second press from the back side. Our parchment paper iron-on guide covers the protective-layer technique in more detail.
Want chenille patches made for pressing?
Work with us to create custom chenille patches with heat-activated backing, your colors, and your shapes, ready to press onto jackets and more.
How To Attach Chenille Patches To Your Favorite Objects?
Chenille presses well onto jackets, hoodies, backpacks, tote bags, and structured caps - anything with a flat, heat-tolerant surface. Curved or padded areas bond poorly because pressure cannot spread evenly.
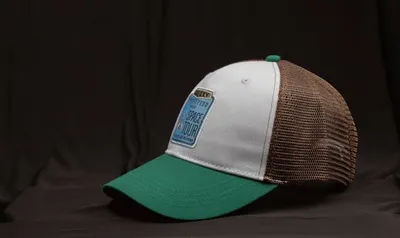
We've seen the classic pairings hold up best: varsity letters on wool-blend letterman jackets, mascots on hoodies, and small chenille icons on canvas totes. Caps work too, though the curved crown needs a cap press or a rolled towel inside to create a firm pressing surface - the technique in our how to put a patch on a hat guide.
Skip umbrellas, rain shells, and thin liners. Coated fabrics reject adhesive, and thin synthetics can distort under the heat a chenille bond needs.
How Should You Position The Chenille Patch Before Pressing?
Lay the garment completely flat on the press platen or a firm ironing board, and smooth every wrinkle out from under the patch area first. A wrinkle pressed under a patch is permanent.
Then align, measure, and lock it down:
- Measure from a fixed reference - a seam, placket, or pocket edge - not by eye
- Step back and check the placement on the worn side, since chest patches read differently flat versus worn
- Tape the patch with heat-resistant tape so the pressing cloth cannot drag it
Once heat touches the adhesive, repositioning is over - a partially melted backing never re-bonds cleanly. Decide placement fully, then press. Work with us on custom chenille patches and we will match the backing to where you plan to put them.
Need varsity letters for a letterman jacket?
Our custom varsity letter patches bring classic chenille texture to jackets, caps, and sweaters in any letter, color combo, and size you want.
Learn moreCan All Patches Be Applied With A Heat Press?
No - heat pressing only suits patches built for it. The patch needs heat-activated adhesive on the back and materials that tolerate the temperature on the front.
What presses well and what does not:
- Chenille, embroidered, woven, and printed patches with iron-on backing: press-friendly
- PVC and silicone patches: the patch material itself can deform - sew these
- Leather and suede patches: heat dries and curls them - sew these
- Sublimated or glitter finishes: test on scrap first; some coatings haze under a press
A 2018 review of fusible interlinings found that garment adhesives generally activate between 130 and 160 degrees Celsius - patches without that adhesive layer have nothing to bond with, no matter how long you press.
Which Patch Types Require Sewing Instead Of Heat Pressing?
PVC, leather, silicone, and bullion patches should be sewn, full stop. Their materials distort, dry out, or melt before the adhesive under them ever bonds.
Sewing is also the safer call for any patch going onto gear that works hard - vests, work jackets, bags that get thrown around. Stitches hold through abuse that slowly peels adhesive.
And when a heat-pressable patch meets a non-pressable garment (nylon, waterproof coating), go with what the garment can handle: sew it. A simple running stitch just inside the border, in matching thread, disappears into the pile of a chenille patch.
What Temperature And Fabrics Work Best For Chenille Patches?
Work in the low-to-medium range of your press or iron - chenille backing adhesives are formulated to bond well below maximum heat, and lower heat is always safer for the pile. Combine that with medium-to-firm pressure and a 10-to-15-second press.
Fabric-wise, the friendly list is short and predictable: cotton, denim, twill, canvas, and wool blends. They tolerate the heat, grip the adhesive, and stay dimensionally stable.
Always check the garment's care label before pressing - the FTC's Care Labeling Rule requires manufacturers to state ironing warnings, and a label reading do not iron is a hard stop, not a suggestion.
How Do Different Fabrics Respond To Heat Pressing?
Cotton and denim are the easy cases - they take firm heat and bond strongly. Canvas behaves the same but rewards a slightly longer press because it is dense.
The caution list:
- Polyester blends: press cooler and shorter; research on textile heat exposure shows polyester fibers begin to melt around 260 degrees Celsius, and shine damage appears well before that
- Fleece: bonds, but the nap can crush around the patch edge
- Nylon and coated shells: distort or reject adhesive - sew instead
- Leather: never press; heat dries and stiffens it
When in doubt, run a 10-second test press on an inside seam or hem area and inspect for shine, color change, or texture loss before committing to the visible spot.
Dressing up a jacket with chenille texture?
Get custom patches for jackets in chenille, embroidered, or mixed styles, sized and backed to suit the exact garment you are upgrading.
How Do You Protect Chenille Patches While Pressing?
The raised yarn is chenille's identity, and unprotected direct heat is what destroys it - the pile flattens, the loops glaze, and the patch takes on a pressed-down shine that never fully recovers.
Protection is cheap and total: a layer between the heat and the patch, every single press. That one habit prevents flattening, scorch marks, and melted highlights.
We've noticed the difference most on dark chenille, where glazing shows as a permanent light streak. Protect the pile and the patch stays plush through years of wear - which is exactly what buyers of custom varsity letter patches expect from the classic look.
What Protective Materials Should You Use During Heat Pressing?
Use a thin cotton pressing cloth, parchment paper, or a PTFE (non-stick) pressing sheet. All three spread the heat and keep metal off the yarn.
Quick selection logic:
- Cotton cloth: cheapest, works everywhere, slightly reduces heat transfer - add 2 to 3 seconds
- Parchment paper: thin, transparent to heat, single-use convenience
- PTFE sheet: reusable and consistent - the pick if you press patches regularly
Skip wax paper, which can transfer residue, and thick towels, which absorb the heat the adhesive needs. Whatever you use, keep it flat and wrinkle-free, because a wrinkled cover sheet prints lines into the pile.
Outfitting a whole team or squad?
Order custom wholesale patches in matching chenille batches with generous bulk discounts, so every jacket in the group presses out identical.
Get startedWhat Common Mistakes Should You Avoid When Pressing Chenille Patches?
Four failures repeat themselves: too much heat, too little pressure, steam left on, and impatience while the bond is still warm. Each one has a specific fix.
Here they are, with corrections:
- Scorched or glazed pile - heat too high or no cover sheet. Drop the temperature and always cover.
- Edges lifting within days - pressure too light or press too short. Re-press firmly from both sides.
- Patch slid mid-press - no tape. Tape every patch, even small ones.
- Bubbled or wavy fabric - garment was damp or wrinkled. Pre-press first, always.
A quick diagnostic we use: after the garment cools, drag a fingernail around the full patch edge, then look at the pile under an angled light. Lifting edges mean more pressure or time; any sheen on the yarn means less heat or a thicker cover sheet. Two checks, and you know exactly which direction to adjust.
Test your full setup on scrap or an inside hem before the real press. One rehearsal catches nearly every mistake on this list while it is still free.
How Do You Make Chenille Patches Last Longer After Pressing?
Longevity starts in the first 24 hours: let the bond cure before the garment is worn, stretched, or washed. The adhesive keeps strengthening as it fully sets.
For patches that will live through heavy rotation, add stitches. Even a few tacking stitches at the corners take the mechanical load off the adhesive - and seam research shows moderate stitch density, around 10 stitches per inch, gives seams their strongest hold without puckering.
Wash cold, inside out, on gentle, and skip the dryer when you can - repeated high heat is the slow killer of pressed bonds. Ordering for a team? Work with us on custom wholesale patches and we will match the backing to how the garments will actually be used, with generous bulk discounts on matching batches.
What Are The Best Aftercare Tips For Heat-Pressed Chenille Patches?
Wait before the first wash - we recommend 48 hours minimum, and a week is kinder. The bond you pressed is still curing underneath the pile.
This is the care routine that keeps chenille plush:
- Turn the garment inside out for every wash
- Cold water, gentle cycle, and air dry flat
- Never iron directly over the patch again; refresh flattened pile with a soft brush instead
- Inspect the edges monthly and re-press or tack-stitch any lift the day you notice it

A lifted corner caught early is a 10-second fix. Caught late, it is a re-press of a patch that has been collecting lint under the edge - deal with it early.
Frequently Asked Questions About How To Press Chenille Patches
How Do You Heat Press Chenille Patches?
Pre-press the garment, position and tape the patch, cover it with a pressing sheet, then press with medium-to-firm pressure for 10 to 15 seconds, repeat from the back, and let it cool fully.
How Do You Iron On Chenille Patches?
Set a medium, steam-off iron, cover the patch with a pressing cloth, and hold firm downward pressure for 10 to 15 seconds without sliding. Check the edges after cooling and re-press any lift.