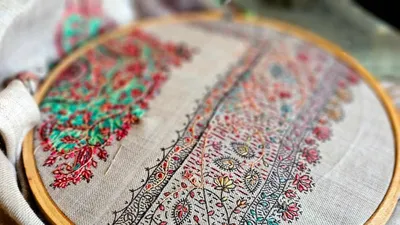
How To Make Custom Patches: Which DIY Method Should You Choose?
Making a custom patch is a decision, not a single method. The artwork picks the construction, the construction picks the backing, and the backing picks the border, and so on. In this guide, we cover how to make custom watches in the order decisions usually happen: pick the type, design the artwork, choose the materials, produce the patch, and finish it for wear.
Key Takeaways
- The artwork decides the method: fine text goes woven, gradients go printed, bold shapes go embroidered, wet or outdoor use goes PVC.
- Cut the backing about a quarter inch smaller than the patch so it stays hidden from the front and the border can seal cleanly.
- Digitizing is not file conversion: an embroidery file maps stitch order, density, and direction; renaming a PNG does not.
- We supply high-quality custom patches in every construction and backing style, at competitive prices with generous bulk discounts on team, brand, and event runs.
Table of contents
-
How To Make Custom Patches?
-
What Materials Do You Need To Make Custom Patches?
-
How Do You Design Your Own Custom Patch?
-
What Type Of Custom Patch Should You Choose?
-
How Do You Make Custom Patches For Clothing Without Embroidery?
-
How Do You Make Custom Embroidered Patches?
-
How Do You Make Custom Patches With A Cricut, Htv And Faux Leather?
-
How Do You Add Backing To A Custom Patch?
-
How Do You Finish Custom Patch Edges And Stop Them From Fraying?
How To Make Custom Patches?
Custom patches go through seven stages on every order we run, whether you make one at home or send us the file for factory production.
- Check the artwork: resolution, color count, line thickness, dimensions.
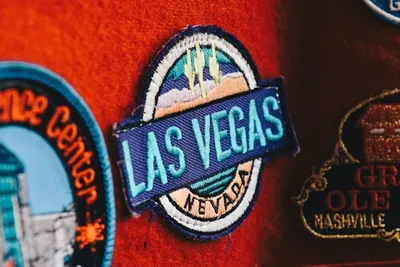
- Pick the construction: embroidered, woven, printed, PVC, chenille, or leather.
- Choose the fabric or base material to match the construction.
- Prepare the design: digitize for embroidery, vectorize for printing or cutting, mold the sculpt for PVC.
- Produce the patch with the chosen method.
- Add the border: satin, merrow, hot cut, or fray-check liquid.
- Attach the backing: iron-on, sew-on, hook-and-loop, or adhesive.
Where a home setup keeps up: embroidery on a hobby machine, printing on transfer paper, felt work, and hand embroidery. Where a loom, mold, or multi-needle machine takes over: true woven construction, molded PVC, chenille letters, and any run larger than a few pieces. Work with us to create custom embroidered patches at scale when the run outgrows the home setup.
What Materials Do You Need To Make Custom Patches?
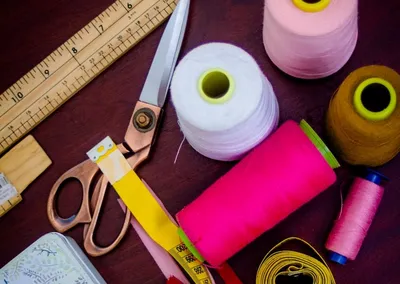
A universal materials list for any custom patch build: base fabric (twill, felt, or canvas), stabilizer (cut-away, tear-away, water-soluble), thread or ink or paint, a border material, a backing sheet (fusible webbing, plain felt, hook tape), and hand tools (needle, scissors, iron, hoop). Buy method-specific supplies once you have chosen the method, not before.
Optional professional supplies: digitizing software for embroidery files, a hot knife for sealed edges, specialty fabric adhesives for PVC, edge-finishing liquids like fray-check, and a small heat press for consistent iron-on application. None are needed for a first patch; all shorten the time from artwork to finished piece on later ones.
What Is The Best Fabric For Homemade Patches?
Felt for beginners, twill for durable results, denim or canvas for garment-matched runs. Felt does not fray, so no border is needed. Twill takes a dense stitched border and heat-set adhesive without puckering. Canvas holds up to large designs. We've seen new customers pick fabric by look alone and end up puckered or frayed on their first border pass.
Match the fabric to the wear. A patch destined for a jacket lasts longer on twill; a patch meant for a display quilt can use lighter cotton. Skip stretchy knits entirely because embroidery pulls them out of shape. New Mexico State University Extension covers the fabric-and-stabilizer pairings that keep an appliqué edge from unraveling in the wash.
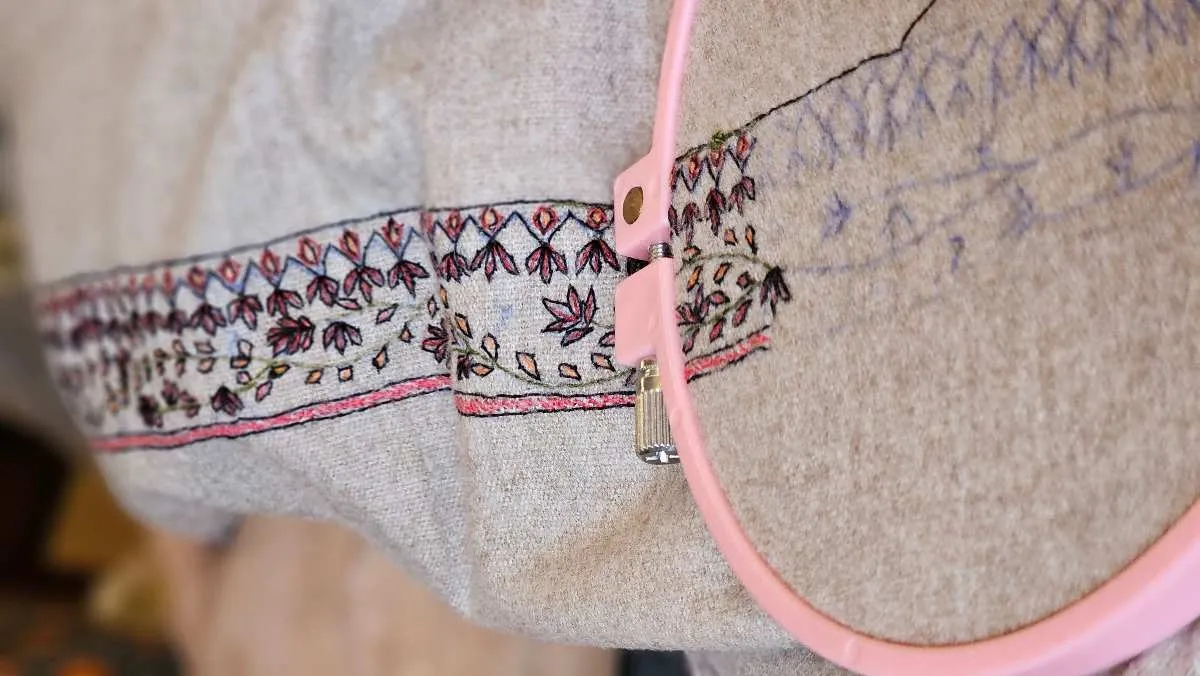
Want a proper embroidered patch built for wear?
Work with us to create custom embroidered patches with your artwork, any shape, any border style, and the backing your garment needs.
How Do You Design Your Own Custom Patch?
Design the patch on paper first, then scale to file. Set the shape, dimensions, colors, and typography before anyone opens a design tool. A common test size is 3 inches wide. Sketch the border thickness (3-5 mm for stitched) and check that the smallest inside detail is at least 2 mm wide. We've found that most digitizing rework comes from designs sent in without an edge check.
Research on fashion-product customization shows that creating something unique and experimenting with personal appearance are key reasons people choose customized designs. Decide what the patch should express before selecting its shape, colors, and typography.
Simplify for embroidery. Reduce colors to 4-6 blocks, thicken thin lines to at least 2 mm, and remove fine gradients (embroidery can't render them; either move to printing or drop the gradient). Vector artwork is preferred because the design scales cleanly at any size.
Only reproduce artwork you own or have permission to use. USPTO trademark basics covers what a trademark protects and why. We don't reproduce trademarked logos or official insignia in our production; the same standard applies at home if you plan to gift, sell, or wear the patch in public. Original designs, family artwork, and public-domain imagery are fine.
How Do You Turn An Image Into A Custom Patch Design?
Vectorize the image first, then simplify. A photo becomes a flat illustration with 4 to 8 color blocks and clean outlines. An illustration becomes a vector redrawn in software like Illustrator or Inkscape. Skip AI vectorization on complex images; a hand-redrawn vector holds up better under real production.
Digitizing is a separate step. For embroidery, the file must be converted from vector into a stitch file (DST, PES, EMB) that maps stitch order, density, underlay, and direction. Renaming a PNG to DST does nothing; the file must be created in digitizing software or done by a service. This is where DIY files fail most often, which is why we send a proof before production.
What Type Of Custom Patch Should You Choose?
Match the patch type to the artwork. The rule we use in production is short: the design dictates the method, not the other way around.
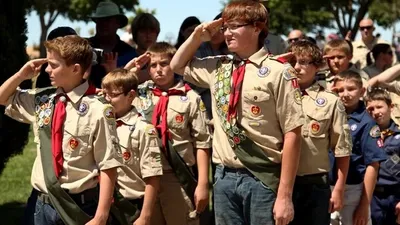
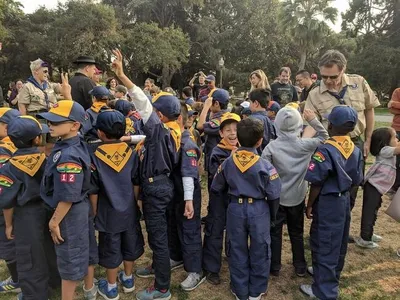
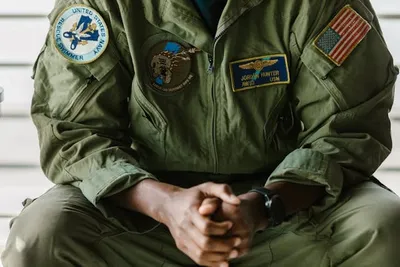
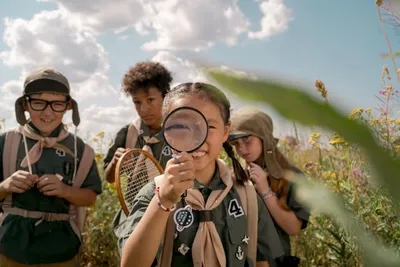
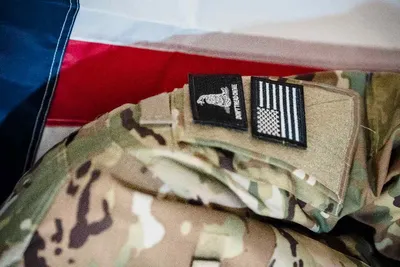
For team, club, or organizational patches, consider what the design communicates about membership and identity. The academic study The Uniform: A Sociological Perspective explains that uniforms and their identifying features can signal group membership, status, and organizational boundaries.
| Patch type | Best for | Detail limit | Home-makeable? | Typical backing |
|---|---|---|---|---|
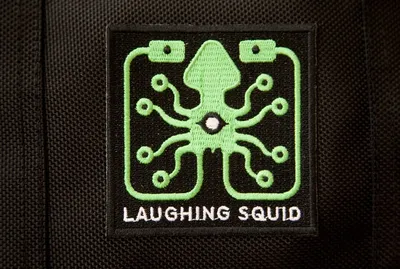
| Embroidered | Bold shapes, logos | 3 mm text | Yes, with a machine | Iron-on, sew-on |
| Woven | Fine text, thin lines | 2 mm text | No, factory | Iron-on, sew-on |
| Printed | Photos, gradients | Full color | Partial (transfer) | Iron-on, sew-on |
| PVC | Outdoor, wet, 3D | Simple shapes | No, factory | Sew-on, hook |
| Chenille | Retro letters | Letters only | Partial | Sew-on |
| Leather | Brand marks, casual | Etched or embossed | Partial | Sew-on |
| Sublimated | Full-color photo, soft feel | Full color | No | Sew-on |
Work with us for custom leather patches or any construction here, at any scale.
When Should You Choose Woven, Printed Or PVC Patches?
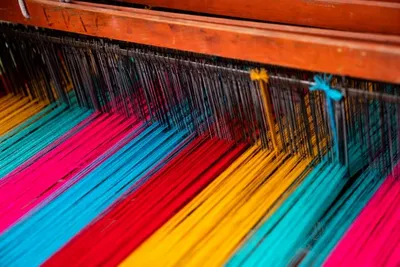
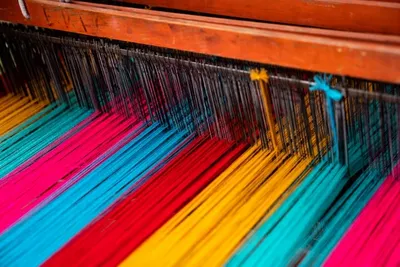
Choose woven when the design has fine text or thin lines below 3 mm. Woven construction interlaces threads on a loom, so detail is much sharper than embroidery. Choose printed when the design has photos, gradients, or many colors; nothing else reproduces full-color artwork as cleanly, at any budget. Choose PVC when the patch will see rain, mud, or sunlight; molded rubber survives conditions that fade embroidery thread and delaminate iron-on transfers.
Woven and PVC are factory-only because both need equipment that does not fit in a home. The design work still happens at home; the production is ordered.
Design has fine text or thin lines?
We produce custom woven patches from your artwork, down to 2 mm text, perfect for name tapes, brand marks, and dense detail.
Learn moreHow Do You Make Custom Patches For Clothing Without Embroidery?
Four methods produce a wearable patch without a single stitch of embroidery. Fabric paint on a stiff twill, printed transfer paper, appliqué shapes on a stabilized base, and heat-transfer vinyl cut on a machine. Match the method to the garment: paint and appliqué for cotton and canvas, printed transfer for smooth cotton, HTV for cotton or poly blends that tolerate a heat press.
No-sew methods are faster and less durable. In the returns we see, printed and HTV patches without a stitched border are the first to peel or crack. Adding a whip stitch or fray-check liquid around the edge extends the life significantly.
How Do You Make Fabric Paint Appliqué And Printed Patches?
Appliqué layers fabric shapes over a stabilized base. Cut the base fabric with a fusible interfacing on the back for stability. Washington State University Extension covers the correct fusing technique: press with firm pressure and don't slide the iron. Layer felt or twill shapes on top, secure with a running stitch or fabric adhesive, then finish with a border.
Painted patches need flexible fabric paint or acrylic mixed with a fabric medium. Apply in thin layers, let dry between coats, and heat-set per the paint's instructions. Printed patches use transfer paper on an inkjet printer: mirror the design, print, iron onto twill, and peel the backing per the paper's instructions. Both benefit from a stitched or fray-check-sealed border.
Full-color photo or gradient design?
Our custom printed patches carry photorealistic artwork that no embroidery method can match, in any size and shape.
How Do You Make Custom Embroidered Patches?
Custom embroidery follows five substeps once the file is ready.
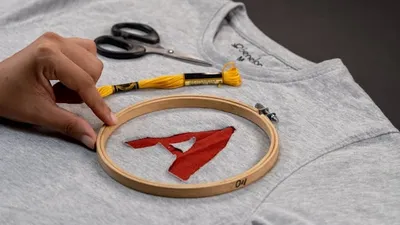
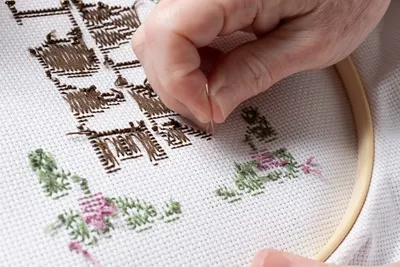
- Stabilize the fabric with a cut-away for stretchy or loosely woven bases, tear-away for stable twill.
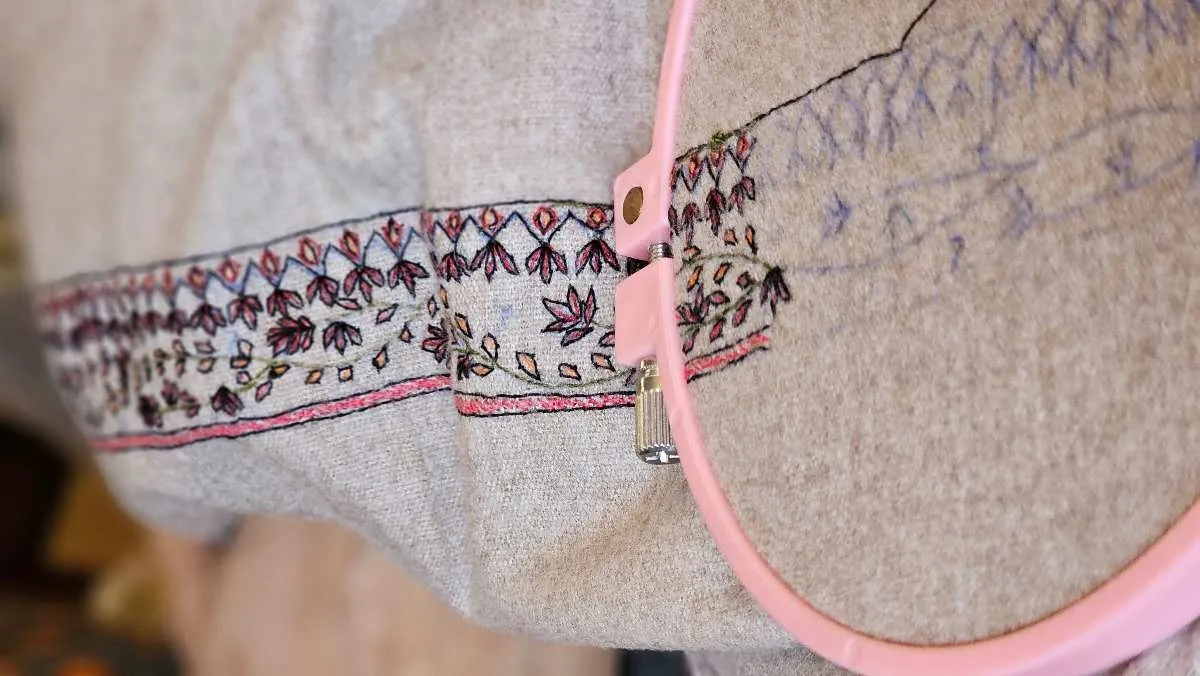
- Hoop the fabric with the stabilizer underneath, tension even across the hoop.
- Stitch the design, watching for thread tension and density issues.
- Add the perimeter border last, at short stitch length and full coverage.
- Trim and back the finished patch.
Utah State University Extension covers the fusible-web sequence used at the backing step, and warns that over-fusing can stop adhesion entirely. Test the fuse on scrap first with your exact adhesive and iron; every fusible has a different sweet spot.
What Machine And Hooping Setup Do You Need For Embroidered Patches?
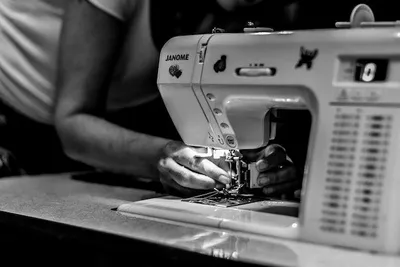
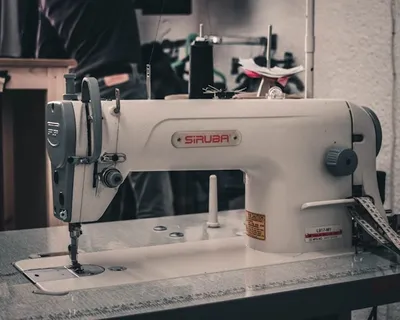
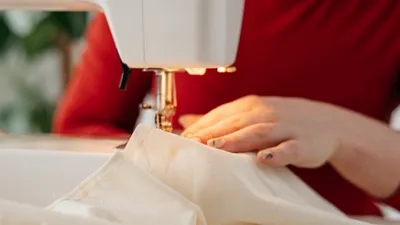
A sewing machine with a zigzag stitch handles small patches; a home embroidery machine handles most designs; commercial multi-needle machines handle production runs. Choose by the design and the quantity, not by the newest machine available.
Hooping tension is the single biggest quality lever. Too loose and the fabric slips inside the hoop, distorting the design; too tight and the fabric puckers permanently. In the orders we run, hooping is the step most often blamed for a "the machine is broken" complaint that is really an operator issue.
How Do You Make Custom Patches With A Cricut, Htv And Faux Leather?
A cutting machine like a Cricut produces clean patch shapes, letters, and layered elements. Import the vector into the machine's software, set cut lines, mirror for heat-transfer vinyl, then cut on the material-specific setting the machine lists. Do not invent settings; the manufacturer's setting is the one that works.
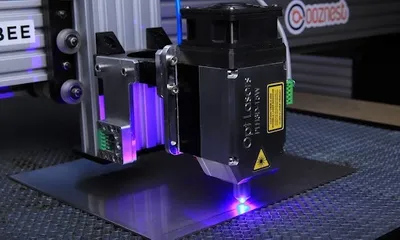
HTV patches suit small runs of lettering or simple graphics on cotton or poly blends. Faux leather patches take a laser or blade cut cleanly, then heat-press onto denim or canvas. Both are fastest with a small heat press; a home iron works with patience. For the durability side of the comparison, see our heat transfer vs embroidery guide.
Outdoor gear that will see rain and mud?
Get started with custom PVC patches, molded for weatherproof wear on packs, jackets, and tactical kit.
Get startedHow Do You Add Backing To A Custom Patch?
Choose backing by permanence and garment. Iron-on for casual and semi-permanent, sew-on for anything that will be washed regularly or worn hard, hook-and-loop for interchangeable use, adhesive for temporary or one-time wear.
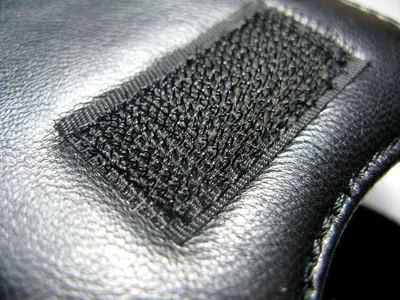
Cut the backing about a quarter inch smaller than the finished patch so it stays hidden from the front. Apply per the backing's instructions: fusible webbing needs firm pressure and a dry iron, hook tape sews on through the outer border, adhesive sheets peel and stick. For hook-and-loop backing details, see our custom Velcro patches options.
How Do You Finish Custom Patch Edges And Stop Them From Fraying?
Five edge finishes cover most patches: satin stitch, whip stitch, hot-knife cut, fray-check liquid, and faux-merrow border. Match the finish to the material.
- Satin stitch: dense zigzag or embroidery-machine border. Best for embroidered patches on twill.
- Whip stitch: hand-stitched edge. Suits felt and small handmade patches.
- Hot-knife cut: melts and seals synthetic fabric edges. Suits polyester twill.
- Fray-check liquid: clear glue that stops raveling. Emergency fix, not a first choice.
- Faux-merrow: dense satin border that mimics factory merrow. Best for casual patches.
Complete the internal design before cutting and finishing the outer edge. The border is the last step, not the first. Safety note on hot knives: work over a heat-safe surface, in ventilation, and keep the knife moving; a paused hot knife burns rather than melts.
How Can You Improve Custom Patch Quality And Avoid Common Mistakes?
Test everything on scrap first. Test stitch density on scrap fabric before hooping the real one. Test print colors on plain paper before the transfer sheet. Test the iron temperature on a piece of the backing material. We've found the puckering, peeling, and uneven-border problems almost always trace to a skipped test step.
Common failure modes and the fixes. In the orders we run for customers who tried DIY first, three problems keep showing up.
- Puckering on embroidered pieces: the stabilizer was too light for the fabric, or the hooping tension was uneven. Upgrade to a cut-away stabilizer and re-hoop with the fabric flat.
- Peeling on printed or iron-on patches: the fabric was too warm at peel time, or the wrong side of the transfer was placed against the fabric. Follow the transfer paper's cool-peel or hot-peel instruction exactly.
- Uneven border on machine-stitched patches: the feed was inconsistent because the presser foot was fighting the hoop. Reduce speed, use a satin foot, and pause at corners.
Inspect every finished patch before it is attached. Check the front for stray threads, the back for uneven backing, the border for gaps in coverage, and the corners for lifted stitches. Anything found now is fixable; anything ironed onto a garment first is not. In the orders we handle for teams and brands, this five-second inspection is the difference between a patch that ships and one that gets remade.
Frequently Asked Questions About How To Make Custom Patches
How Do You Make Custom Patches?
Move through seven stages: check the artwork, pick the construction, choose fabric, prepare the design, produce the patch, add a border, then attach the backing. The artwork sets the method; the method sets the rest.
What Materials Are Needed To Make Custom Patches?
A universal kit needs base fabric, stabilizer, thread or ink, a border material, and a backing sheet. Method-specific extras depend on the choice: a hoop and needle for hand work, a machine for stitched borders, a printer for transfers.